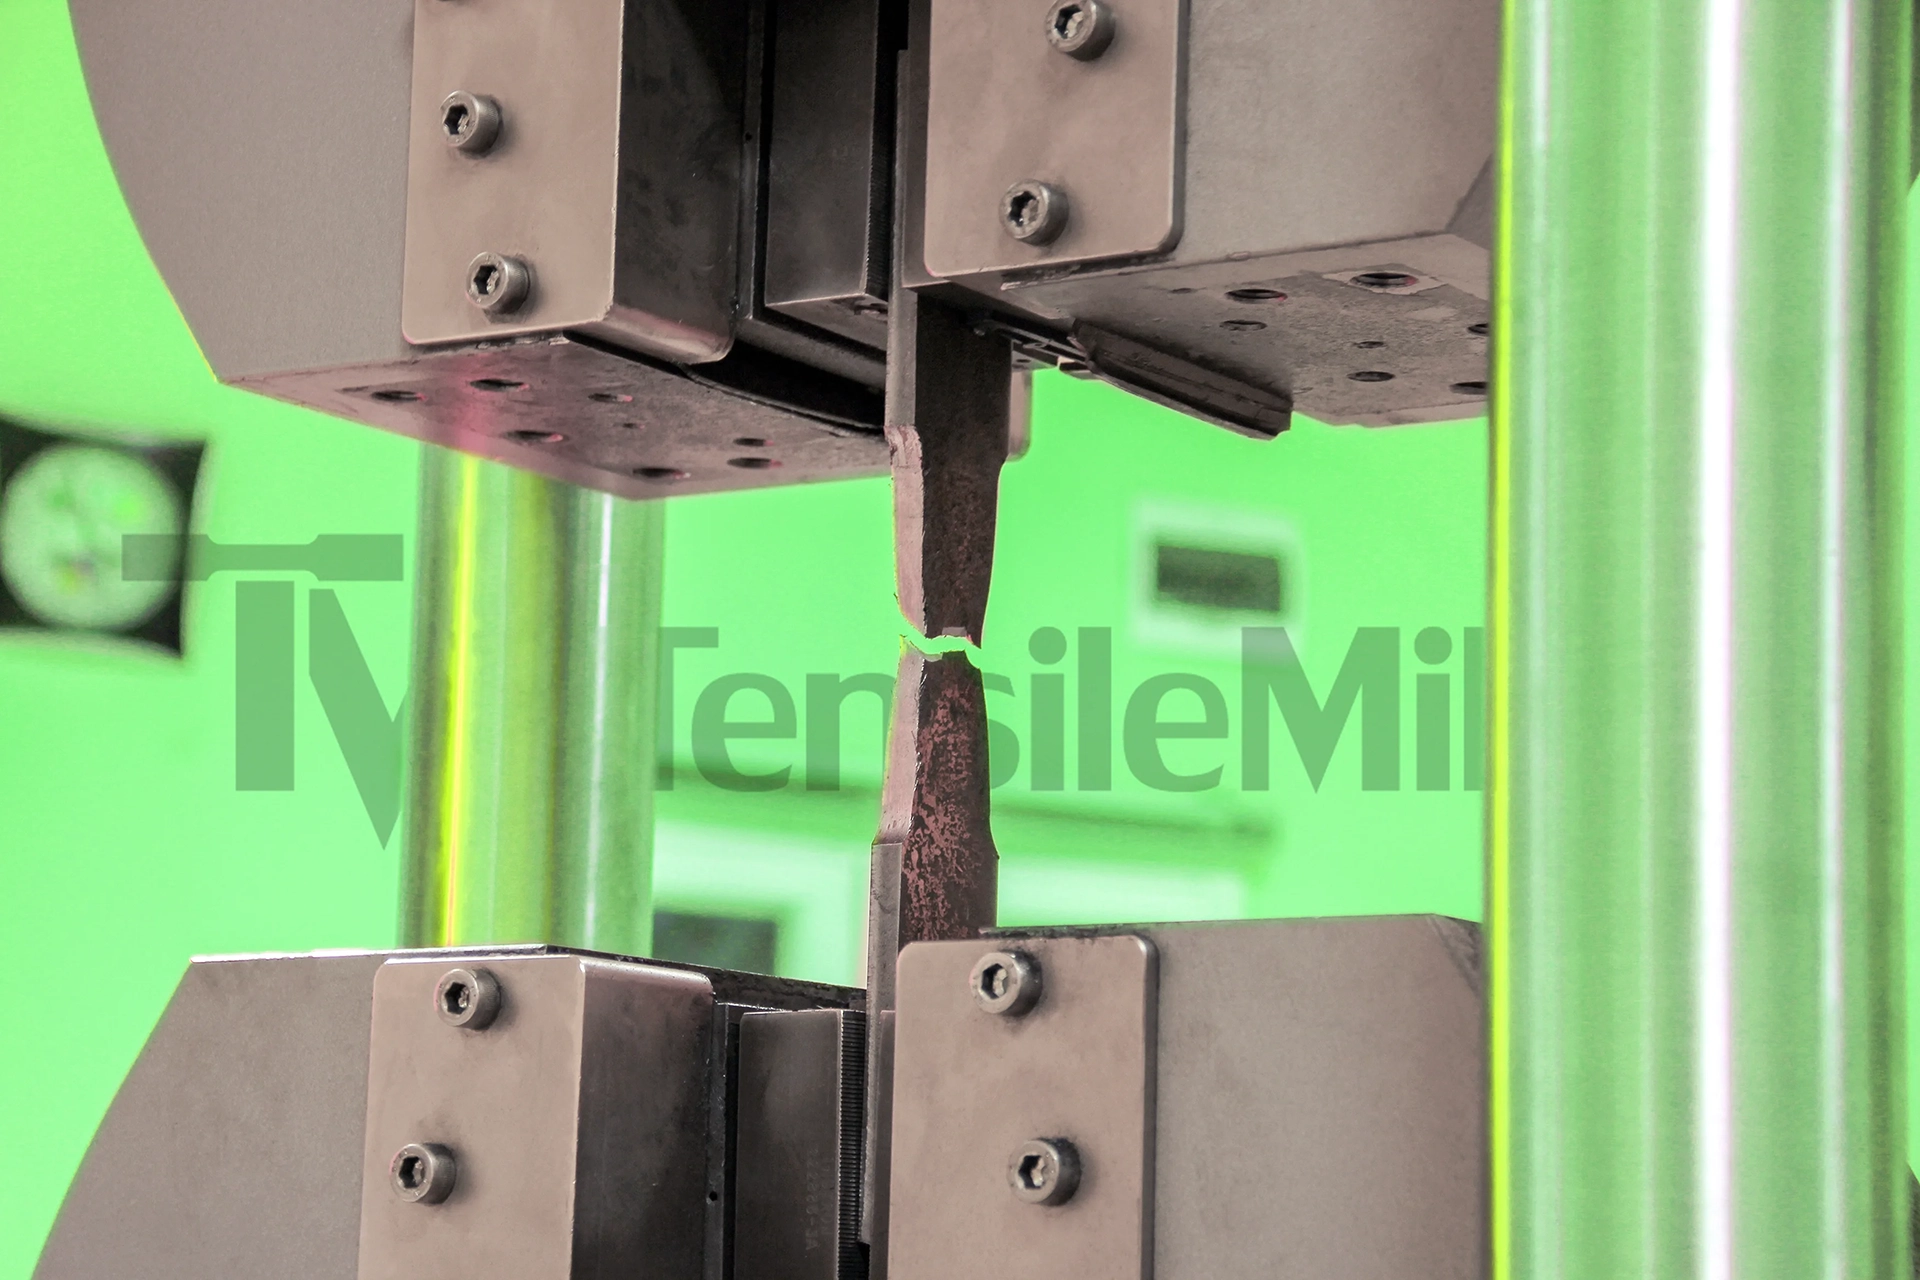
A tensile specimen is a specially prepared sample used to measure the mechanical properties of materials under tensile (stretching) forces. These specimens are of great importance as they are used to determine whether materials meet specific requirements for strength and durability. The quality of the samples is one of the most important criteria during tensile testing.
Although tensile specimens might seem similar to simple metal bars, they must be manufactured to the highest quality standards. Any small issue with the sample during the preparation process can invalidate the entire tensile testing procedure. This raises the following question: how can we verify that these specimens are correctly machined and suitable for tensile testing? The answer to this question will be provided in this blog.
Understanding Tensile Specimen Standards
As a fact, the most common and main factor to consider about specimen quality is compliance with international standards. ASTM International and ISO provide detailed guidelines to guarantee consistency and reliability in tensile specimen preparation.
For example, the ASTM E8/E8M standard is one of the most widely used guidelines for tensile testing of metallic materials at room temperature. This standard specifies the shape and dimensions of the specimens, making sure they are prepared in a manner that does not alter material properties. ASTM E8/E8M differentiates between inch-pound and SI units, with specific guidelines for both flat and round specimens, necessary to avoid discrepancies in test results.

Similarly, the ISO 6892-1 standard is another critical guideline that defines the method for tensile testing of metallic materials at room temperature. This standard provides international comparability of material characteristic values such as yield strength, tensile strength, and elongation. ISO 6892-1 also considers different temperature ranges for testing, making it a flexible standard that can be applied to a variety of testing environments.
Other notable standards include ASTM A370, which covers mechanical tests for steel, stainless steel, and related alloys. This standard not only includes tensile tests but also addresses the chemical properties of the materials, assuring comprehensive quality control. For plastics, ASTM D638 is crucial as it specifies the preparation of dumbbell-shaped specimens and accounts for environmental factors affecting test results.
In accordance with these standards, the tensile specimens are of the highest quality, and the test results are reliable and reproducible across different laboratories and environments. This uniformity is an essential requirement for material verification in industries ranging from automotive to medical device manufacturing, where safety and performance matter greatly.
Assuring Material Uniformity
When it comes to preparing tensile specimens, selecting the right grade of material is very important. A suitable material must be selected based on the specific requirements of the test and the intended application of the material. A good way to achieve this is to select the appropriate alloy or polymer grade that has consistent properties throughout the manufacture of the batch.
Homogeneity within the material batch is necessary to eliminate variations in test results. This can be accomplished by verifying that the material is sourced from the same production batch and has undergone the same processing conditions. Consistent material properties across the batch guarantee that the tensile specimens will have uniform characteristics.
Identifying and mitigating common material defects such as inclusions, voids, and surface imperfections is vital. These defects can significantly impact test results by introducing weak points into the specimen. Techniques such as ultrasonic testing, visual inspection, and proper handling during production can help detect and eliminate defects.
Surface Preparation of Tensile Specimens

Having a smooth surface is extremely important, as rough surfaces can act as stress risers, leading to premature failure during testing. Achieving the desired surface finish typically involves machining processes such as milling, grinding, and polishing. High-quality cutting tools and precise machining can result in smooth, defect-free surfaces.
Dimensional Verification of Tensile Samples
Tensile specimens must be also carefully measured with precision measuring tools such as calipers, micrometers, and other precision instruments. Calipers, both digital and mechanical, are used to determine the external dimensions of the specimen, such as length, width, and thickness, with high accuracy. Micrometers, on the other hand, are ideal for measuring smaller dimensions with higher precision. These instruments should be calibrated regularly to maintain accuracy. Consistency in measurements is crucial, so it is necessary to use the same type of instrument and follow a standardized measurement procedure for all specimens.
Once the measurements are taken, it is required to verify that the specimen dimensions are within the acceptable tolerances as specified by relevant standards such as ASTM E8 or ISO 6892-1. Tolerance checks involve comparing the measured dimensions to the specified range and verifying that they fall within the allowable limits. If any dimensions are out of tolerance, methods to address these issues include re-machining the specimen to the correct size or discarding the out-of-tolerance specimen and preparing a new one.

Documentation and Traceability
Moreover, each specimen must be documented in detail. This includes recording material lot numbers, dimensions, preparation methods, and any anomalies observed during preparation. Comprehensive records allow for the accurate tracking of each specimen’s history and help identify any potential sources of error in the testing process. This information is vital for maintaining quality control and providing a basis for comparison in future tests. Accurate documentation also supports compliance with industry standards and facilitates test results validation during audits or reviews.
Implementing traceability systems makes sure that each specimen can be traced back to its source material. This involves assigning unique identifiers to each specimen, which are linked to detailed records of the material’s origin, processing history, and preparation details. Such systems often use barcodes or RFID tags to simplify tracking and minimize the risk of human error. Traceability is a necessary component for validating test results, especially when discrepancies arise. It enables the identification of specific batches of material that may have issues, thereby preventing widespread problems.
Critical Value of Equipment in Sample Preparation
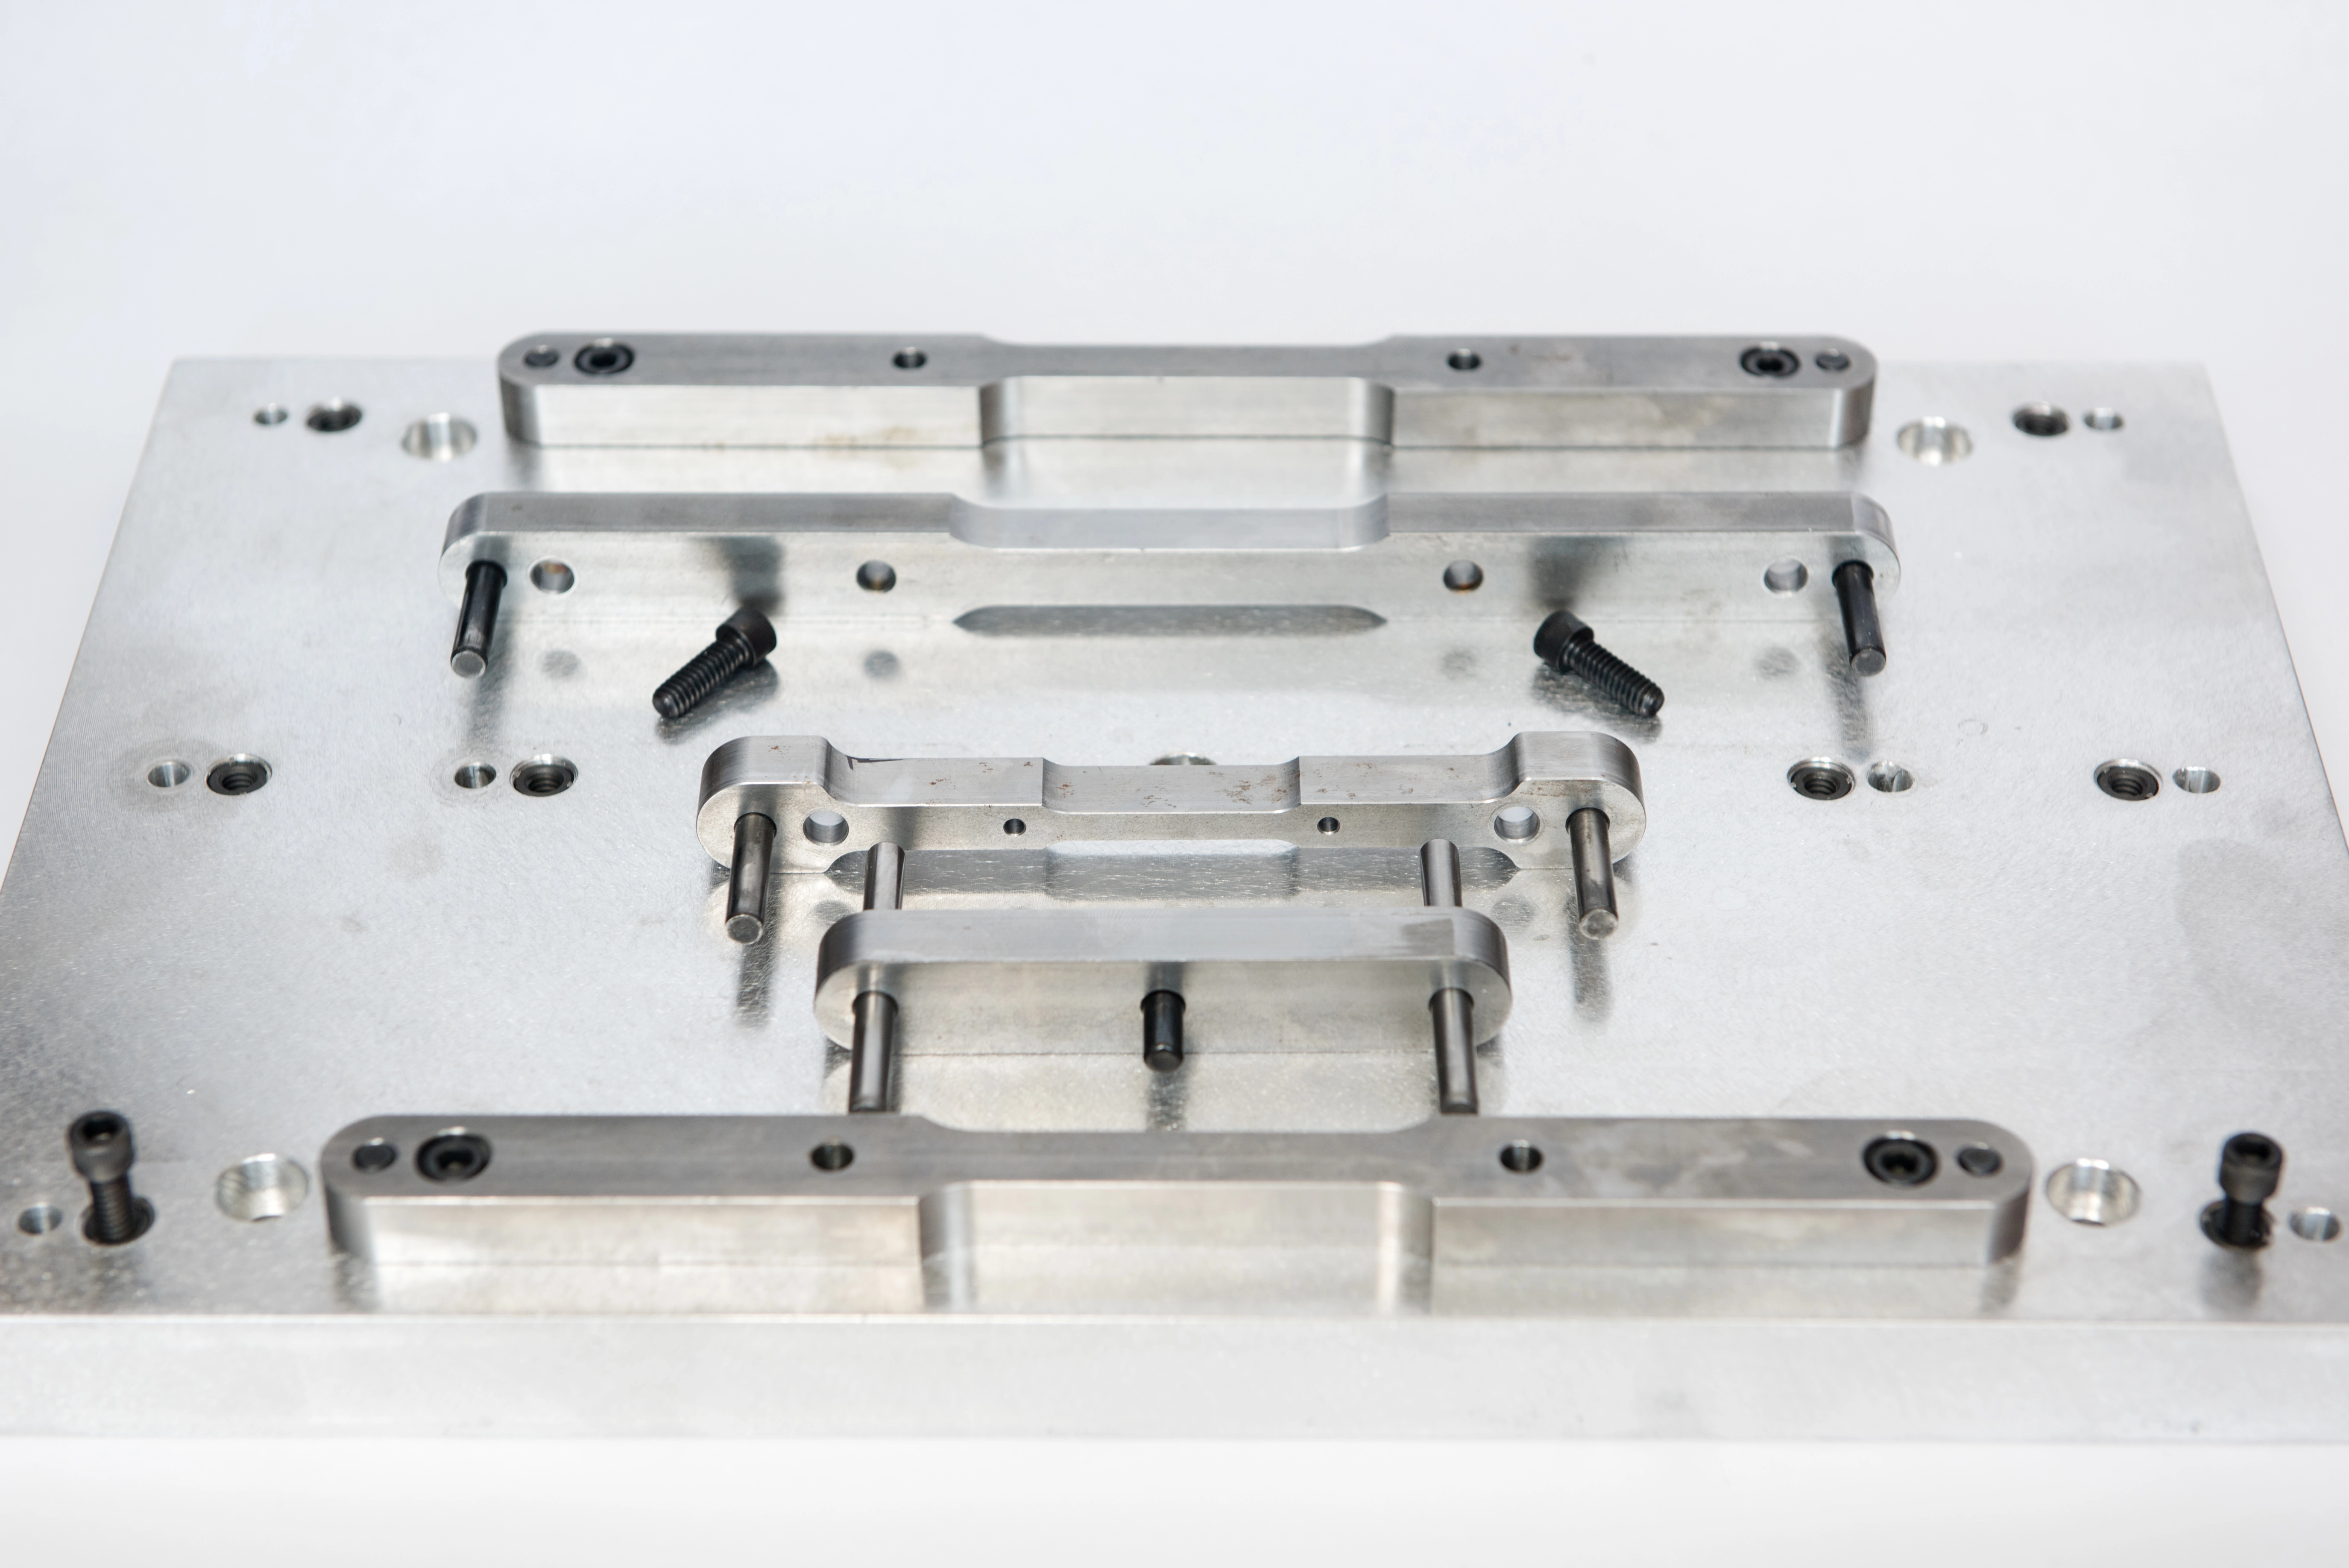
Proper equipment is required for precise machining of flat and round tensile specimens. They must meet stringent standards to avoid stress concentrators and other defects that could skew test results.
Advanced machines can prepare multiple specimens quickly, reducing preparation time and increasing productivity in testing laboratories. Compliance with international standards assures that specimens are prepared according to the required specifications. Additionally, the ability to handle different types of materials and shapes makes these machines suitable for a broad range of applications within an array of industries.
Ensuring Sample Quality with Equipment from TensileMill CNC
As a company focused on supplying top-notch tensile testing equipment and tensile sample preparation tools, we are proud to introduce our best-selling machines designed to produce high-quality flat or round tensile specimens.
TensileMill CNC MINI - Compact Flat Tensile Specimen Preparation Machine

We proudly present the TensileMill CNC MINI, a specialized CNC machine designed for preparing flat tensile specimens. This compact unit offers ultimate flexibility in tensile specimen preparation and full CNC machining capabilities.
The TensileMill CNC MINI is better than ever, offering significant upgrades over our Classic model. Despite its smaller footprint, it offers a larger table size, higher power, and enhanced precision and repeatability—all at a lower price.
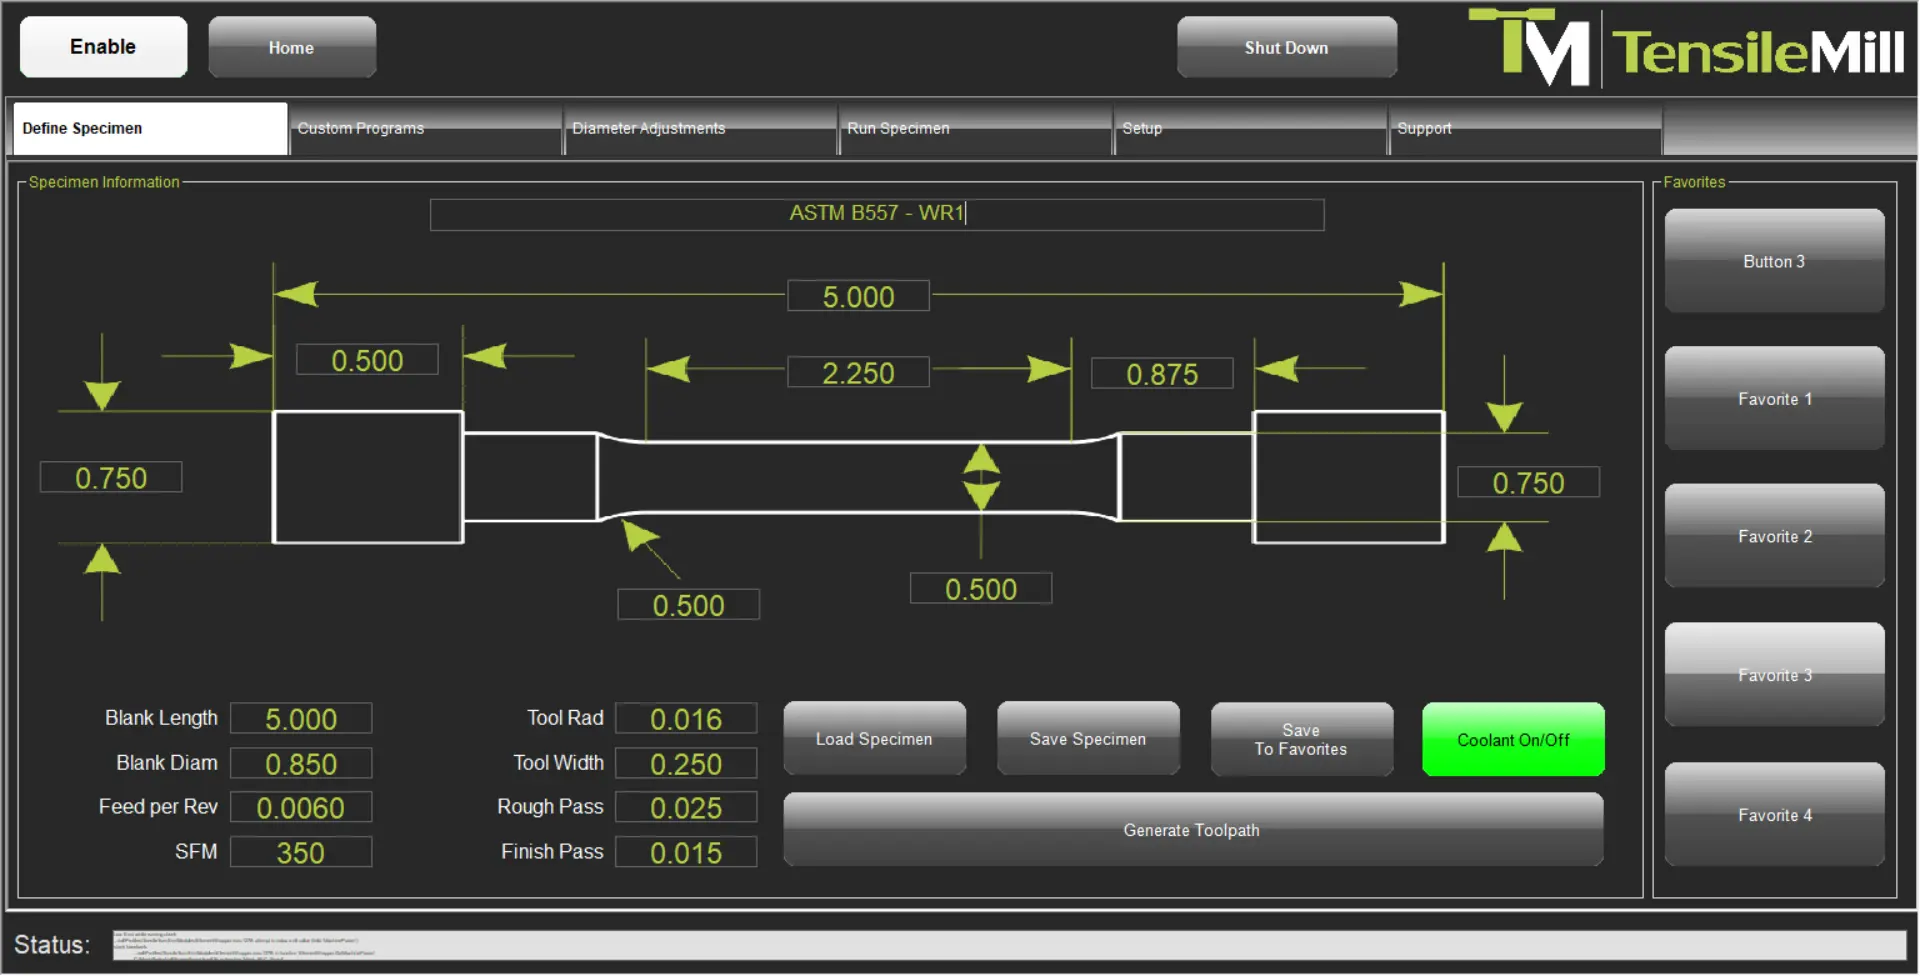
The machine comes standard with a 10" LCD screen and is equipped with our renowned Tensile Software. The user-friendly interface allows operators to quickly input the desired tensile specimen size according to ASTM, ISO, DIN, JIS, or other industry standards. With a powerful 2.2kW (3hp) Water Cooling Spindle, the TensileMill CNC MINI can prepare a variety of materials, including soft, hard, and Inconel materials, in large volumes.
The tensile software interface saves and provides quick access to previously entered specimen sizes. It includes a diverse library of preprogrammed tensile specimens. The machine can be upgraded to our Carbon software interface, transforming it into a hybrid tensile sample and CNC machine. The advanced CNC control system offers features such as:
- 21" touch screen
- 64 GB of storage
- 4 GB of RAM
- WiFi and Ethernet connectivity
- USB ports
- Macro B programming
- Advanced trajectory planning
Built on a heavy cast iron frame with linear rails on all axes, the TensileMill CNC MINI is a high-speed machining center designed with the testing industry in mind. Its 24,000 RPM ISO20 spindle and high-powered servos provide excellent machining capability.
TensileTurn CNC - Industrial Upgrade - Round Tensile Sample Preparation Machine

The TensileTurn CNC - Industrial Upgrade Model is a conveniently sized automatic CNC lathe for industrial use, engineered to prepare accurate round tensile specimens to achieve the highest degree of precision in tensile results. This system features a touchscreen tensile milling interface, allowing any operator, with or without machining experience, to quickly prepare tensile specimens according to the desired size. By selecting a common tensile size from our library of standards (ASTM, ISO, DIN, etc.) or by entering your dimensions on the touchscreen numerical keypad, the TensileTurn CNC - Industrial Upgrade Model is ready to machine a wide selection of materials.
This industry-leading, user-friendly machine features our state-of-the-art TensileSoft and complete Carbon software, which allows experienced operators to program the system for many different applications, including cutting, sanding, knurling, drilling, facing, or turning.
The TensileTurn CNC - Industrial Upgrade Model can prepare standard round tensile specimens, sub-size specimens, threaded tensile specimens, button-head tensile bars, fatigue specimens, and other tensile specimens. The operator needs only to load the machine with round, square, or irregular stock. This machine allows laboratory personnel to bypass wait times at machining centers and prepare their own tensile specimens for testing in minutes.
- Granite Frame and Ball Screws: Robust and shock-absorbent, providing a stable foundation for high-speed machining.
- Stainless Steel Enclosure: Durable and protective.
- 3500 RPM 2 HP (1.5kW) Motor: Powerful for a wide range of materials.
- 8 Position Turret: Equipped with 1/2" shank OD tools.
- 4 Boring Tool Holders: 3/4" shank for various operations.
- Center Drilling Automation: Increases preparation efficiency.
Our easy-to-use touchscreen controller is equipped with our complete Carbon software, which includes 2MB of storage, Ethernet, USB ports, macro B programming, 16 tool offsets, 6 work offsets, drilling canned cycles, scaling and mirroring, turning CAN cycles, and cutting-edge dual mode cutter compensation. Along with the tensile milling software interface, Carbon also allows access to FANUC Industrial CNC Software for professional CNC control functions.
Setting the Benchmark for Tensile Sample Preparation Quality
There are several critical steps involved in verifying the quality and accuracy of tensile samples. Among them are compliance with international standards, the preparation of surfaces correctly, the verification of dimensions with precision, and the documentation and tracking of samples.
Each is necessary to guarantee that tensile specimens are correctly prepared and suitable for tensile testing. This rigorous approach helps prevent premature failures, ensures consistent quality, and provides reliable test results for a diverse array of applications.
Furthermore, the role of specialized equipment in tensile sample preparation cannot be overstated. Advanced machines designed for flat and round tensile specimens improve not only precision and consistency but also efficiency and meet industry standards.
At TensileMill CNC, we are dedicated to providing modern and top-quality equipment for tensile sample preparation, so that the samples you make with our tools are unmatched in quality. Learn more about our featured tensile sample preparation machines, such as the TensileMill CNC MINI and TensileTurn CNC - Industrial Upgrade. Should you have questions, feel free to contact us directly or request an online quote. We are here to support you in the field of material testing.