Effective Flat Tensile Sample Preparation Explained
There are several reasons why tensile tests are done. Tensile tests usually start with the specimen preparation and the results are used when choosing the materials to be used in certain engineering applications. To ensure quality, material specifications usually include its tensile properties.
When developing new processes and materials, tensile properties also need to be measured. This is so that different processes and materials can be compared. The tensile properties of a material can also be used to predict its behavior when subjected to different loading forms aside from uniaxial tension.
Tensile Sample and Testing

The typical tensile sample has a wider shoulder or ends for gripping. The specimen’s most important part is its gage section. To ensure that failure and deformation are localized in this region, the gage section’s cross-sectional area is reduced compared to the other areas of the specimen. The regions wherein measurements are done are located in the center of the reduced section.
During the tensile test, the larger ends should not constrain deformation inside the gage section. The distance between the shoulders and the gage section’s ends should be wide enough to prevent this from happening.
Selection and Specimen Preparation

The common objective in materials testing is to find out if the material is suitable for the intended purpose. The material's body should be fairly represented by the specimen to be tested. The sample should come from the same source and should have undergone the exact same process.
It's usually difficult to have a test sample that is perfectly matched with the structure that came from the same material. That’s why in composite layups, forgings, and large castings, it's common practice to add some extra material to the area. This part can then be used as a ‘built-in' test specimen that is removed from the finished section after processing.
This will be made into test samples to ensure that the specimen has the same structure as the casting where it came from and both have undergone the same processes.
But still, the bulk of the part might not perfectly match the samples in certain essential details which include the grain patterns of a forging’s critical areas. To get more accurate test results, complete parts might be required to get test samples from critical areas which will then be compared with 'built-in' specimens. This way, the specimens will represent the material being tested in the most accurate way.
There may be cases wherein the test’s objective is to evaluate the test itself and not the material. In this procedure, each test specimen should be as identical to the others as possible. This ensures that the test results report only the variability in the tests.
As previously mentioned, the specimen is a part of the material taken from the larger lot. This sample can be made into many specimens for testing purposes. In order to get accurate reports and results, the tensile sample preparation should be done properly. Here are the general steps.
First, each sample is acquired and identified in reference to the material’s source, description, orientation, and location and also in relation to the material’s body, time of sampling, processing status, and the time and date when the sample was obtained.
Next, test samples must be made precisely by focusing on a few details. The axis of the specimen should be aligned with the source material’s composite layup, forging grain pattern, or rolling direction. It’s recommended that the test section’s cold working be minimized. The allowable thresholds determined by the test process should dictate the specimen’s dimensions.
The bar's axis should be aligned with the specimen’s attachment areas. The samples should be identified as coming from the original source. When measuring the total elongation when the sample breaks, the marks should be made on the bar’s reduced section.
Flat Tensile Sample Preparation Machine

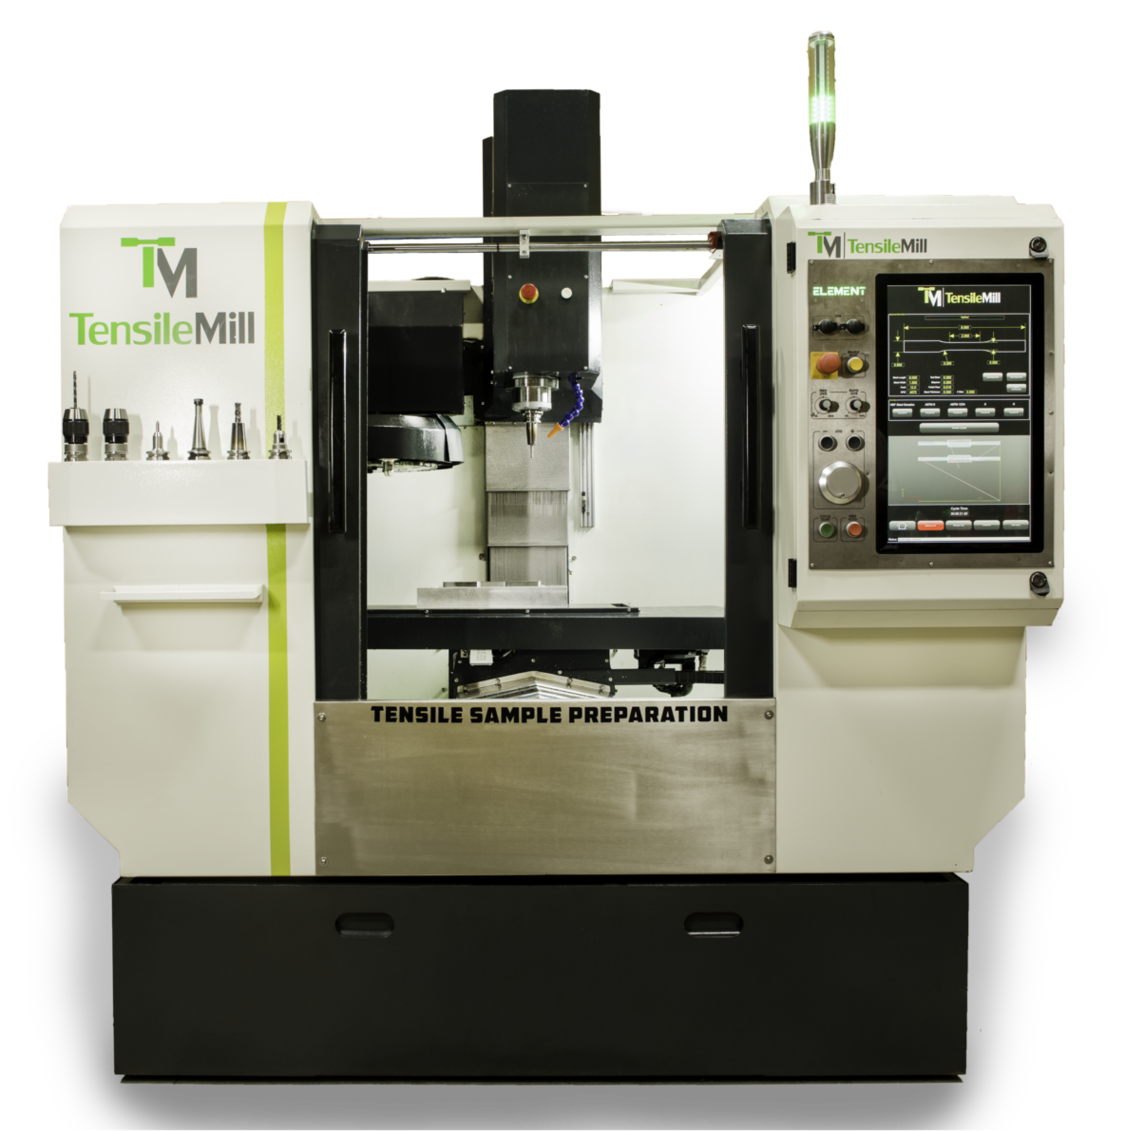
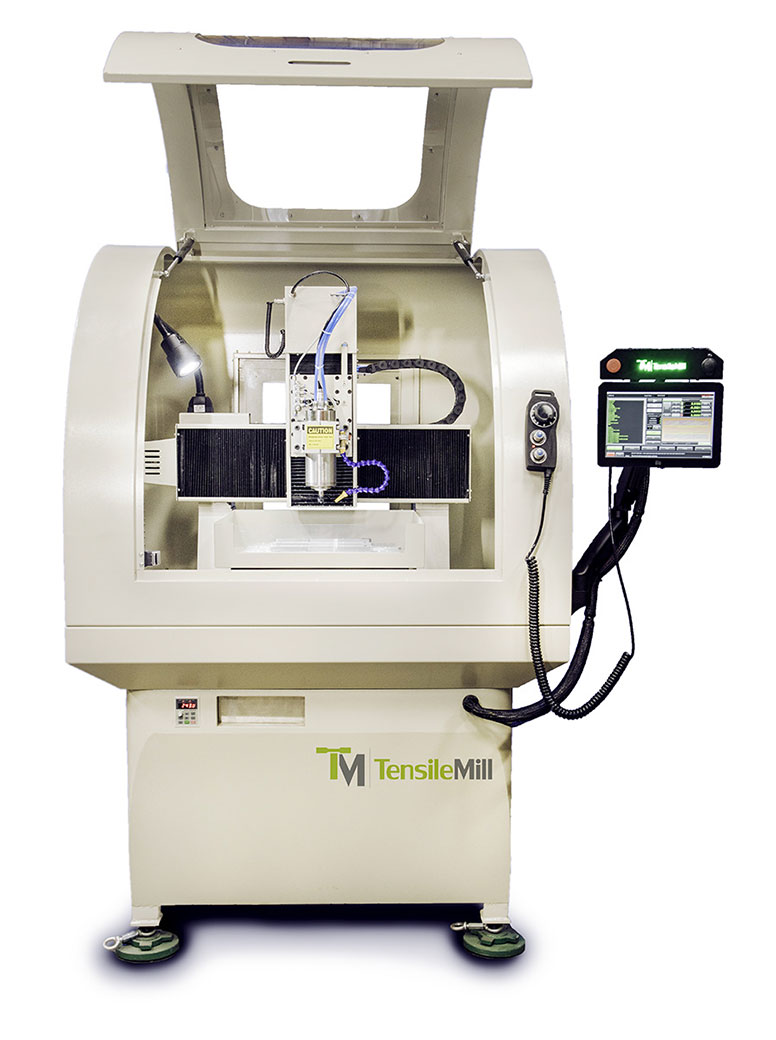
Advancements in technology has made tensile sample preparation and testing easier for the operators. The accuracy of the testing results is also far greater than ever before. One of the most useful tools employed in tensile stress testing is the flat tensile sample preparation machine. Once global leader for such equipment is TensileMill CNC Inc. They specialize in offering equipment which easily prepares high-quality tensile samples.
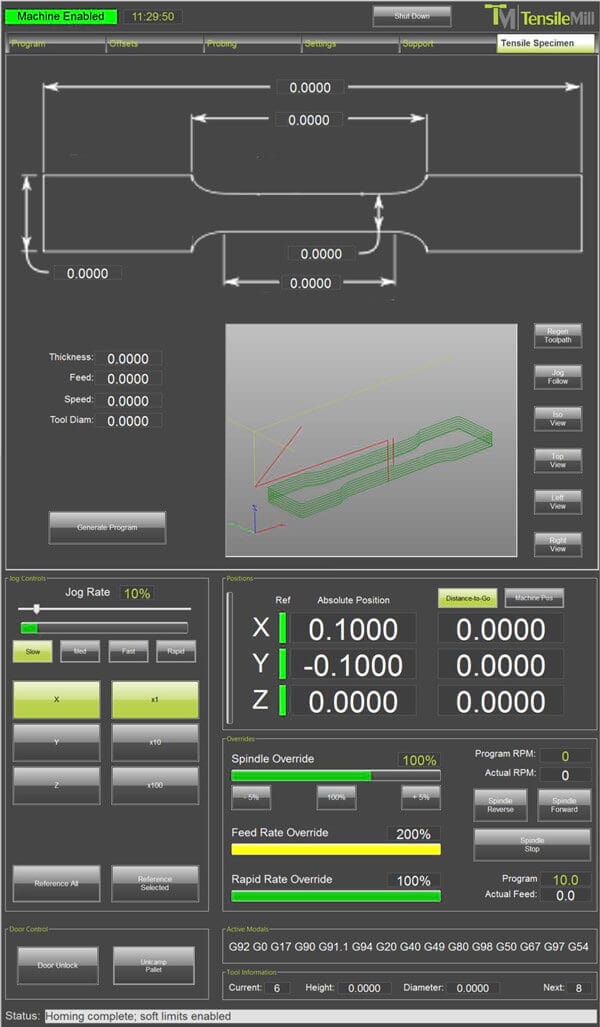
The machine’s operations is based on a user-friendly tensile preparation software and is operated through a tensile milling interface. The operator can then simply enter the required tensile specimen size using the interface. The size is based on parameters governed by JIS, DIN, ISO, ASTM, and other industry standards. Once the desired measurements are entered, the machine gets ready to mill.
The entered specimen sizes are stored by the tensile software for future reference. Operators can then quickly access previous measurements. The more advanced flat tensile sample preparation machines have features such as high memory storage (32 to 64 GB), large RAM (2 to 4 GB), Ethernet and Wi-Fi connectivity, macro programming capabilities, USB ports for extra interfaces and accessories, drilling canned cycles, helical interpolation, work and tool offsets, dual mode cutter compensation, advanced trajectory planning, scaling and mirroring, and more.
The accuracy of the specimen’s measurements is of utmost importance in tensile specimen preparation since it will determine how accurate the results will be. This is why the accuracy and position repeatability should be 0.01mm and better.