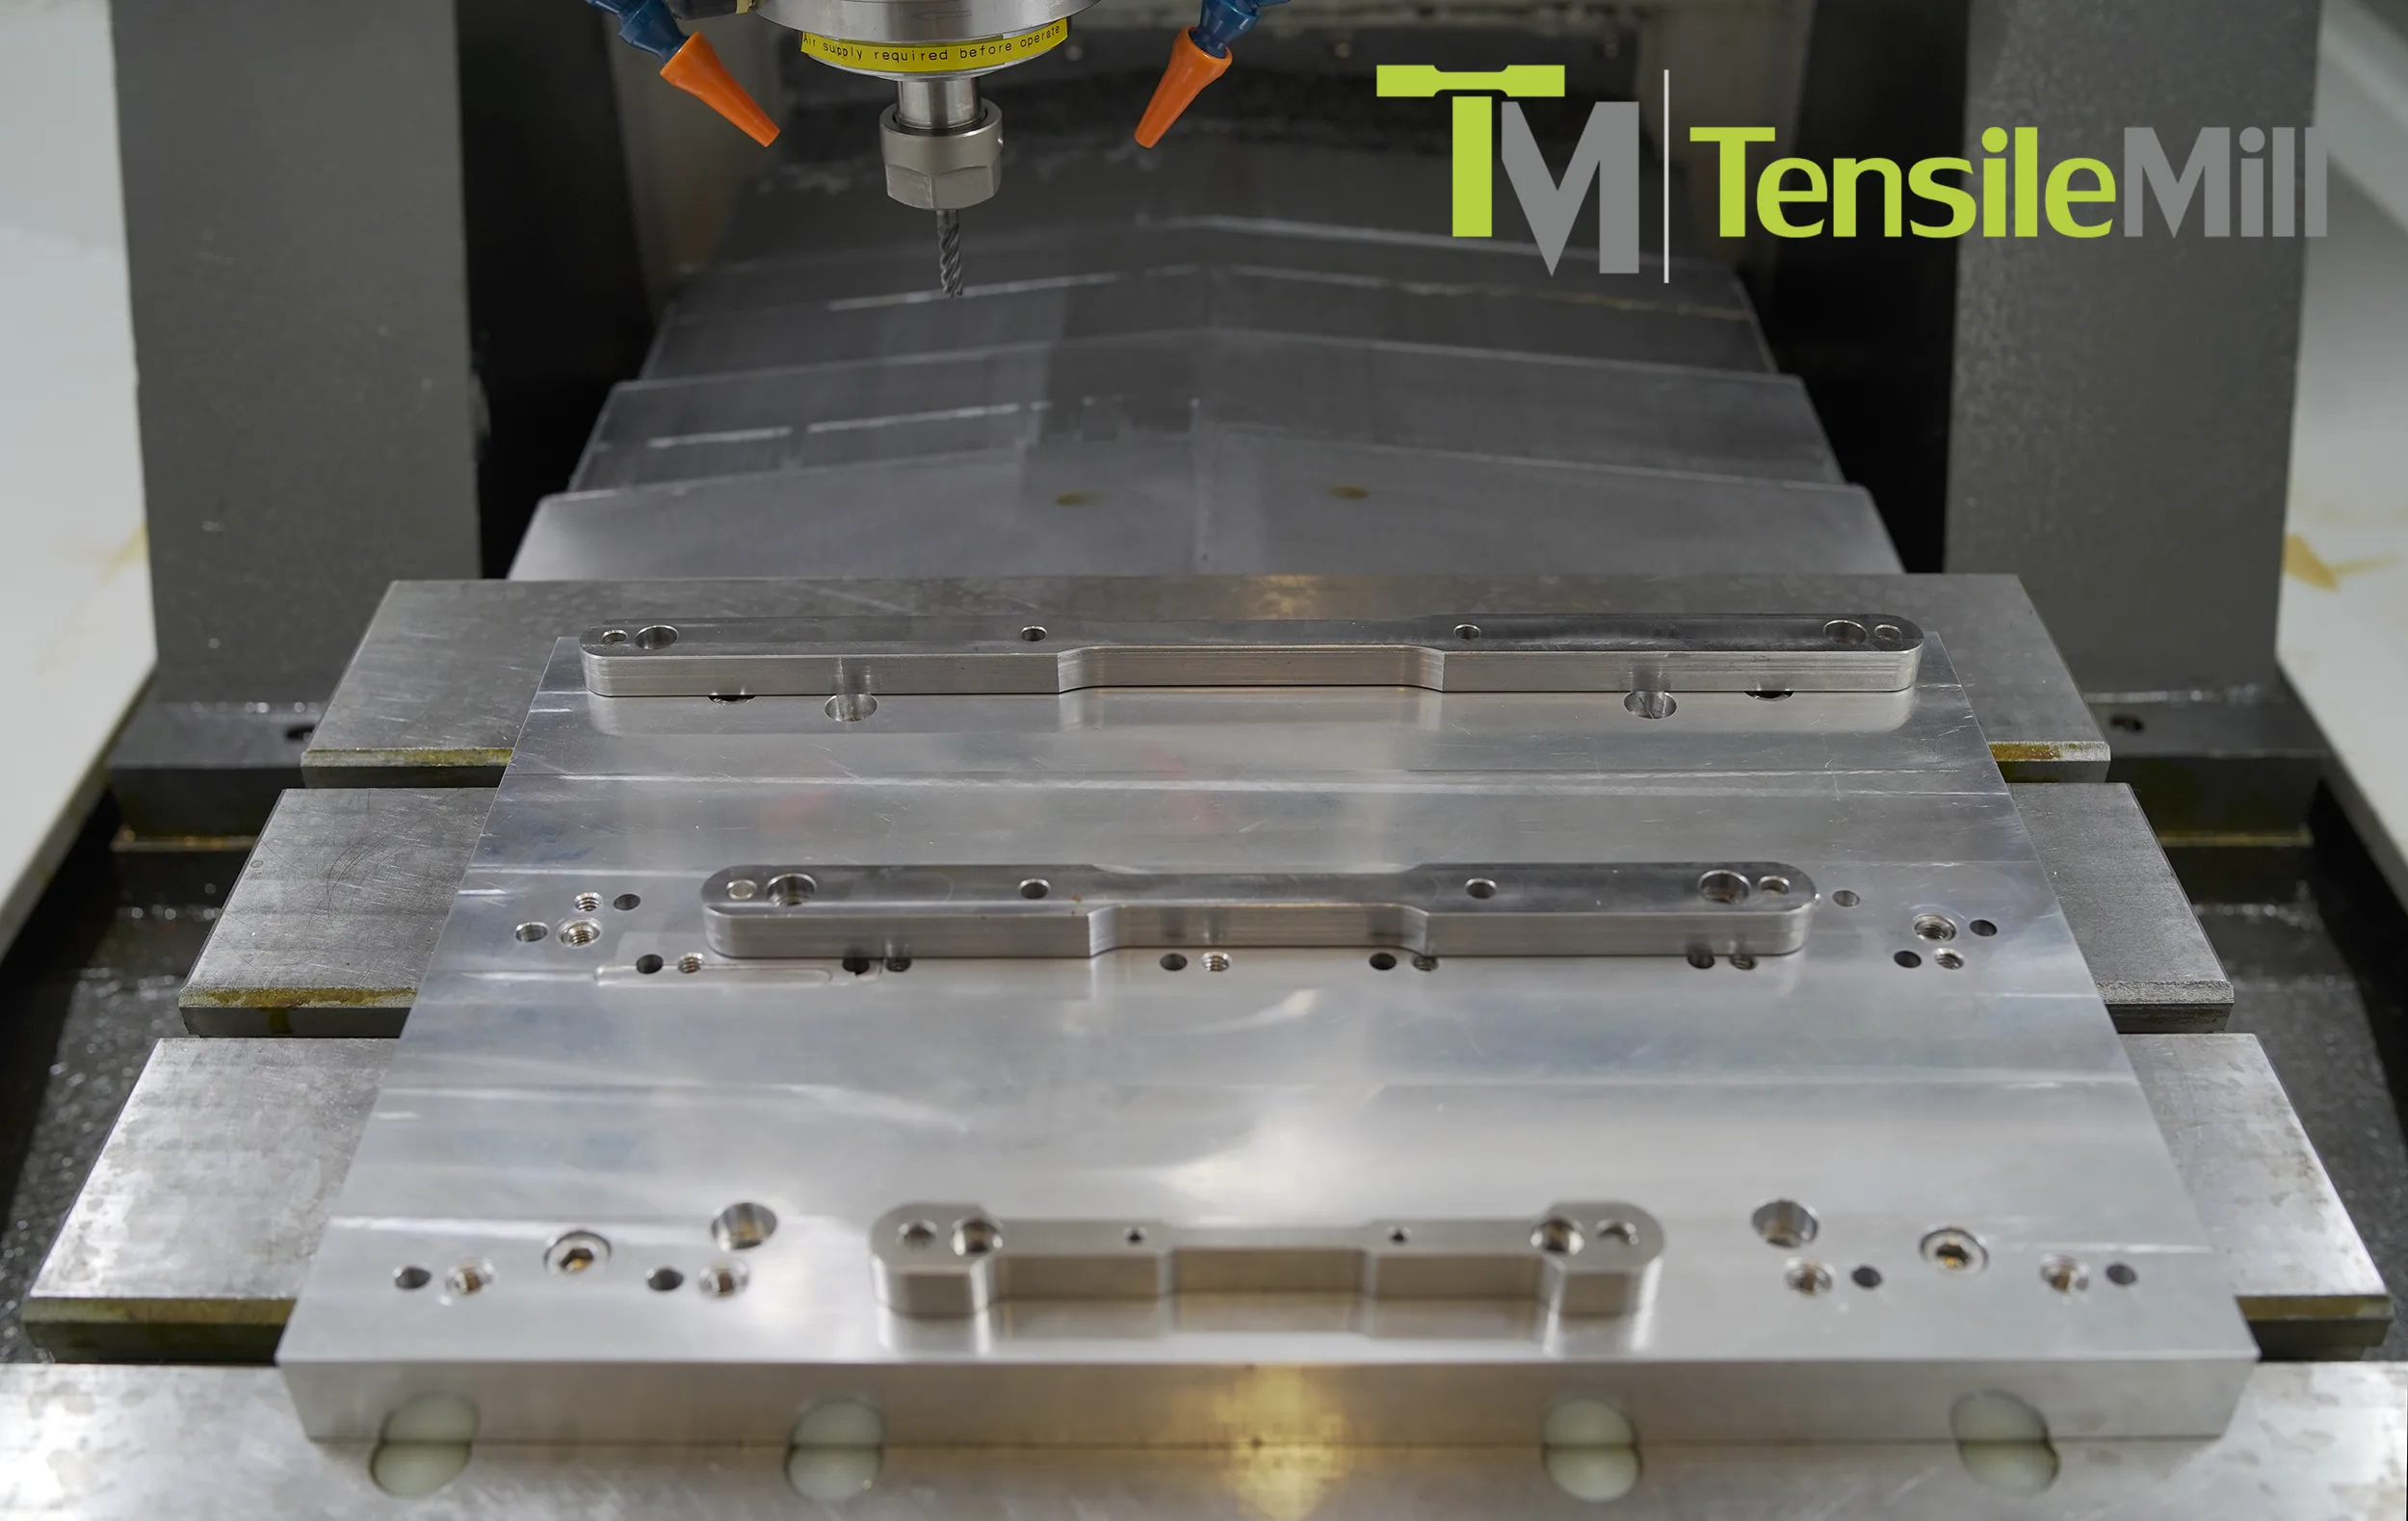
Minimizing defects in the tensile specimen preparation process is a must to achieve accurate, repeatable results during tensile testing. Any deviation or defect in the preparation phase can lead to misleading data and unreliable performance predictions for the material. In general, the process of minimizing defects involves several key stages: material selection, cutting, machining, surface finishing, and inspection. Let’s break this down.
1. Material Selection and Handling
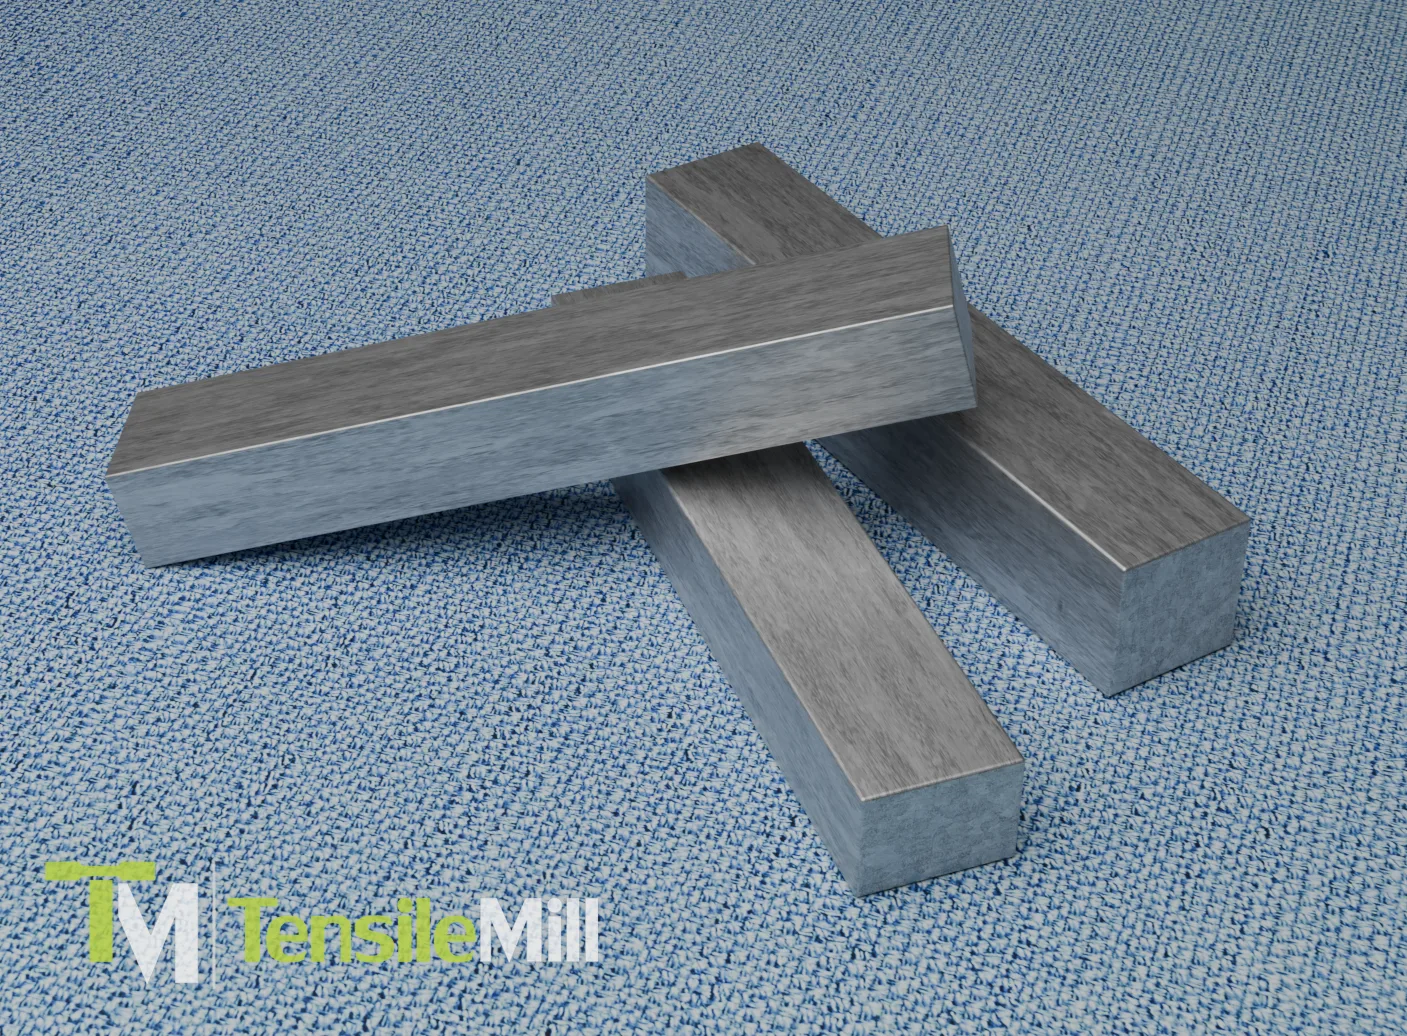
The foundation of high-quality tensile specimen preparation begins with careful material selection and handling. Making sure that the raw material is free of internal and surface defects—such as voids, inclusions, or cracks—directly influences the accuracy and reliability of tensile test results. Even the slightest imperfection can alter the mechanical properties of the specimen, causing premature failure or skewing the data.
1.1. Non-Destructive Evaluation (NDE) Techniques
To maintain the integrity of the raw material, it is required to conduct a Non-Destructive Evaluation (NDE) prior to machining or sample cutting. Ultrasonic testing (UT) and eddy current testing (ECT) are two of the most widely used techniques for detecting internal and surface flaws, respectively.
- Ultrasonic Testing (UT): This method makes use of high-frequency sound waves to detect internal flaws such as voids, cracks, and delaminations. UT is particularly effective in materials like metals, composites, and even plastics. The sensitivity of ultrasonic testing allows the detection of defects as small as 0.5 mm in size.
- Eddy Current Testing (ECT): ECT is another effective NDE method, particularly useful for detecting surface cracks and imperfections in conductive materials. The sensitivity of ECT can detect defects as small as 0.1 mm at surface depth. This method is ideal for materials like aluminum, copper, and steel alloys commonly used in tensile testing. Furthermore, it is capable of detecting corrosion, inclusions, and other surface-related anomalies that may result in incorrect tensile test results.
1.2. Mechanical Damage Prevention
Once the raw material is verified to be defect-free, the next step is mechanical damage prevention during transportation and storage. Handling the material carefully is crucial, as even small scratches or dents can become stress concentrators during tensile loading, leading to localized plastic deformation and early fracture.
These are the best practices to prevent damage:
- Use protective packaging made of foam or soft materials to avoid metal-on-metal contact.
- Ensure secure transportation by strapping materials in place to prevent movement that could cause impacts or abrasions.
- Store materials in a clean, controlled environment to avoid contamination, which can lead to surface corrosion or oxidation, especially with metals like aluminum and titanium.
1.3. Surface Contaminants and Oxidation
Surface contaminants such as oils, dust, and corrosion can also affect tensile specimen preparation. Before machining or cutting, it’s important to clean the raw material thoroughly. Surface oxidation, particularly on metals like steel and aluminum, should be removed, as it can interfere with stress distribution during the tensile test.
- Cleaning Protocol: A standard cleaning procedure includes using solvents like acetone or isopropyl alcohol (IPA) to remove oils and other residues from the surface of the material. In critical applications, materials may undergo an additional acid etching process to achieve a pristine surface.
- Example of Cleaning: For high-strength steel specimens used in automotive testing, a 10% hydrochloric acid solution is often used to remove surface oxides and prepare the material for tensile testing.
1.4. Material Traceability and Certification
An often-overlooked aspect of material selection is verifying that the material is fully traceable and comes with the appropriate certification of origin. When working in regulated industries, traceability provides assurance that every material used can be tracked back to its source, mitigating the risk of using non-conforming materials.
- Certification Standards: For instance, certified materials often meet internationally recognized standards like ISO 9001 or AS9100 for aerospace applications. Certifications typically include information about the material’s chemical composition, mechanical properties, and manufacturing process.
- Traceability Example: In the aerospace industry, a batch of 7075-T6 aluminum used for tensile testing would come with a certificate specifying its source, heat treatment process, and mechanical properties. This confirms that the material complies with AMS-QQ-A-250/12 standards.
1.5. Environmental Considerations
Environmental factors like temperature, humidity, and exposure to chemicals can alter a material's mechanical properties. During the storage and transportation phase, maintaining an environmentally controlled environment is extremely significant.
- Storage Environment: Materials should be stored at a consistent temperature of 20-23°C (68-73°F) with humidity levels not exceeding 50%, especially for materials that are sensitive to moisture, such as polymers and composites. For metals, low-humidity storage can prevent oxidation and corrosion.
2. Cutting and Specimen Extraction
Cutting and specimen extraction is the next stage where improper methods can introduce defects like edge damage or micro-cracks. Here are a few techniques that can be used to minimize these issues.
2.1. Cutting Methods to Minimize Damage
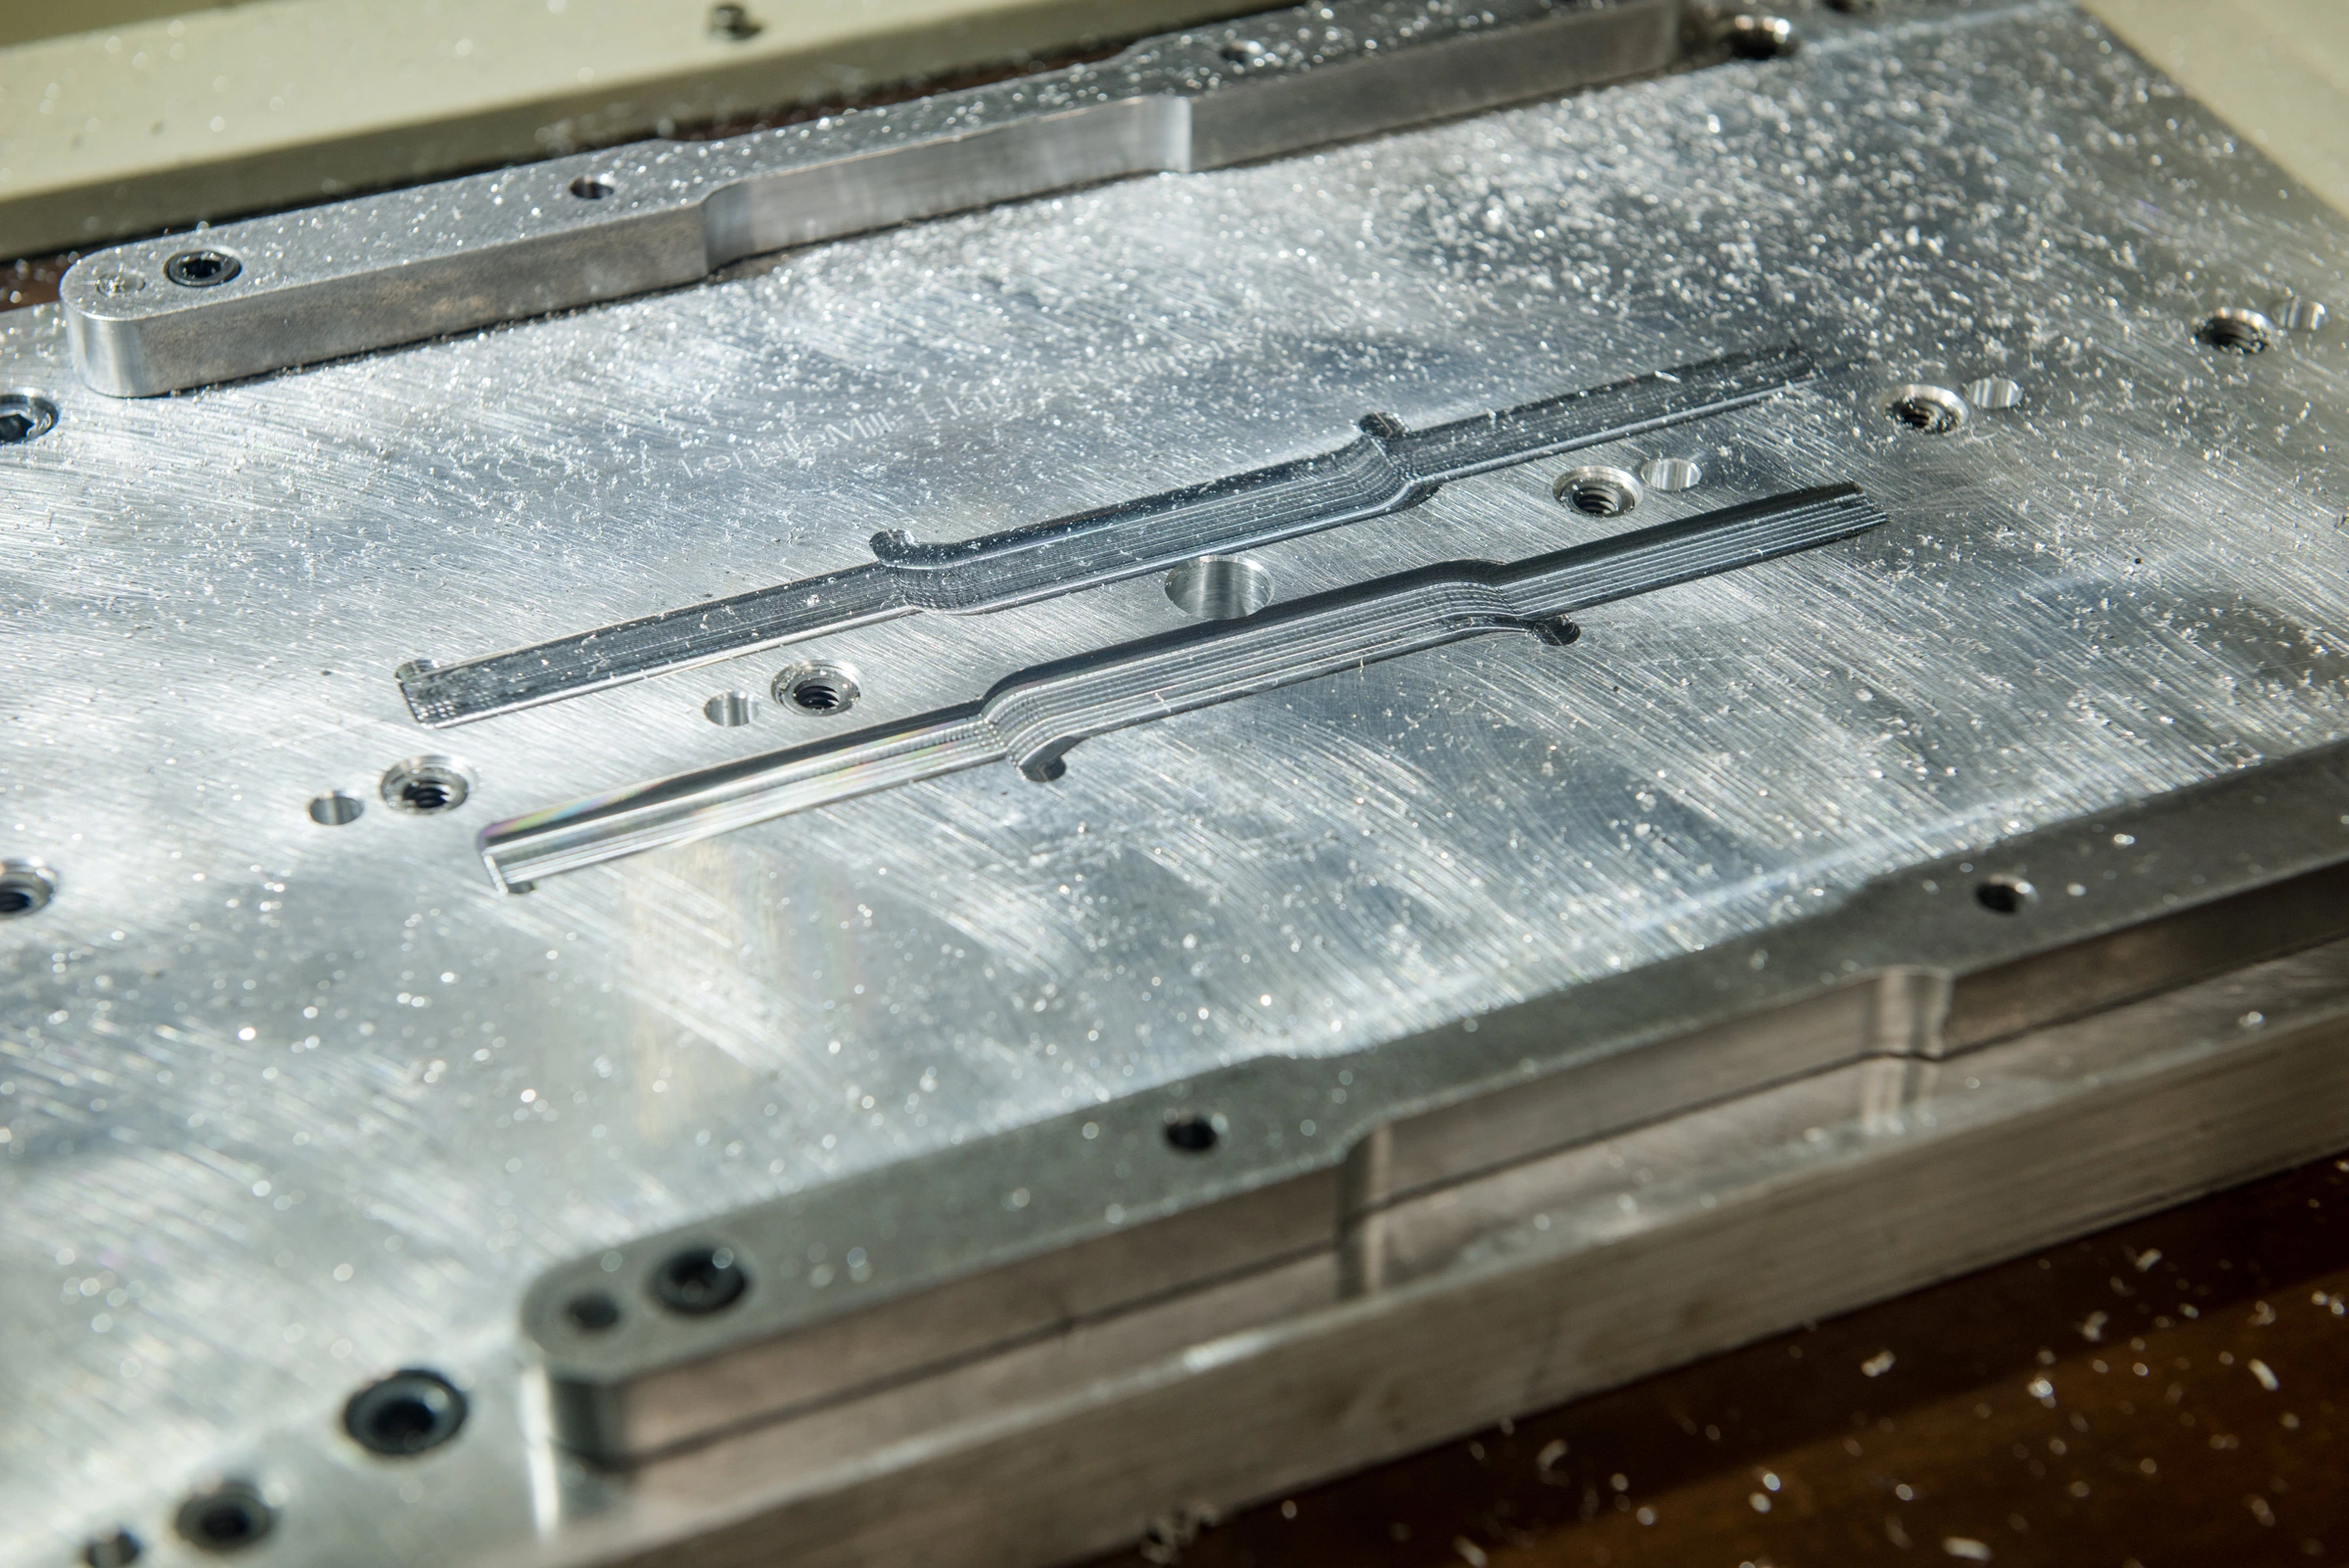
Choosing the right cutting method is key to preventing thermal and mechanical damage. Traditional mechanical saws often introduce excessive heat and force, leading to defects such as micro-cracks or distorted edges. The use of modern techniques like water jet cutting or laser cutting can significantly minimize these problems.
- Water Jet Cutting: This method uses high-pressure water mixed with an abrasive, which creates cold cuts, eliminating heat-affected zones (HAZ) that can alter material properties. For example, setting a water jet to 4000 bar with a cutting speed of 2000 mm/min helps maintain the material’s integrity, notably for heat-sensitive materials like carbon-fiber composites (CFRP), where it prevents delamination.
- Laser Cutting: Although precise, laser cutting generates heat that must be controlled. By optimizing laser power and cutting speed, the impact of thermal damage is reduced. For instance, using pulsed laser cutting at 10 kW for metals like titanium helps control heat while maintaining cut quality.
2.2. Controlling Thermal and Mechanical Stress
Thermal and mechanical stresses during cutting can lead to residual stresses and phase transformations, impacting the tensile properties of materials like stainless steel or aluminum. To minimize these stresses, optimizing cutting parameters such as cutting speed and using coolants is extremely beneficial.
- Example: In CNC machining of aluminum specimens, using a cutting speed of 1000 mm/min with a coolant flow of 10-15 liters per minute prevents overheating, keeping the material free from thermal distortion or surface oxidation.
- Coolant Use: Applying a coolant during cutting reduces heat buildup. For metals like titanium, continuous cooling during laser cutting prevents the development of thermal stress zones that could affect tensile test results.
2.3. Dimensional Precision and Tolerance Control
Maintaining dimensional precision is a necessity to avoid uneven stress distribution during tensile testing. Modern CNC machining allows for precise control of the specimen’s geometry, so that critical dimensions, such as the gauge length, remain within ±0.02 mm tolerance.
2.4. Surface Finishing and Deburring
Post-cutting, deburring, and surface finishing are required to eliminate sharp edges or burrs that can act as stress concentrators, leading to early failure.
- Deburring Techniques: A fine abrasive, for instance 400-grit paper, can be used on soft materials like aluminum to ensure a smooth finish. For harder materials, mechanical deburring with vibratory tumbling is more effective.
- Example: For aluminum alloy 2024-T3, after CNC cutting, using vibratory finishing ensures a smooth surface with a roughness of Ra 1.0 µm, reducing stress risers and improving test accuracy.
2.5. Tool Wear and Maintenance
Tool wear can introduce dimensional errors and surface defects during cutting, especially in CNC operations. Monitoring tool wear and replacing cutting tools at regular intervals helps maintain precision.
- Example: In water jet cutting, replacing the nozzle after 30 hours of operation will ensure that the cutting edge remains smooth, preventing edge defects that could influence tensile test results.
3. Machining and Specimen Shaping
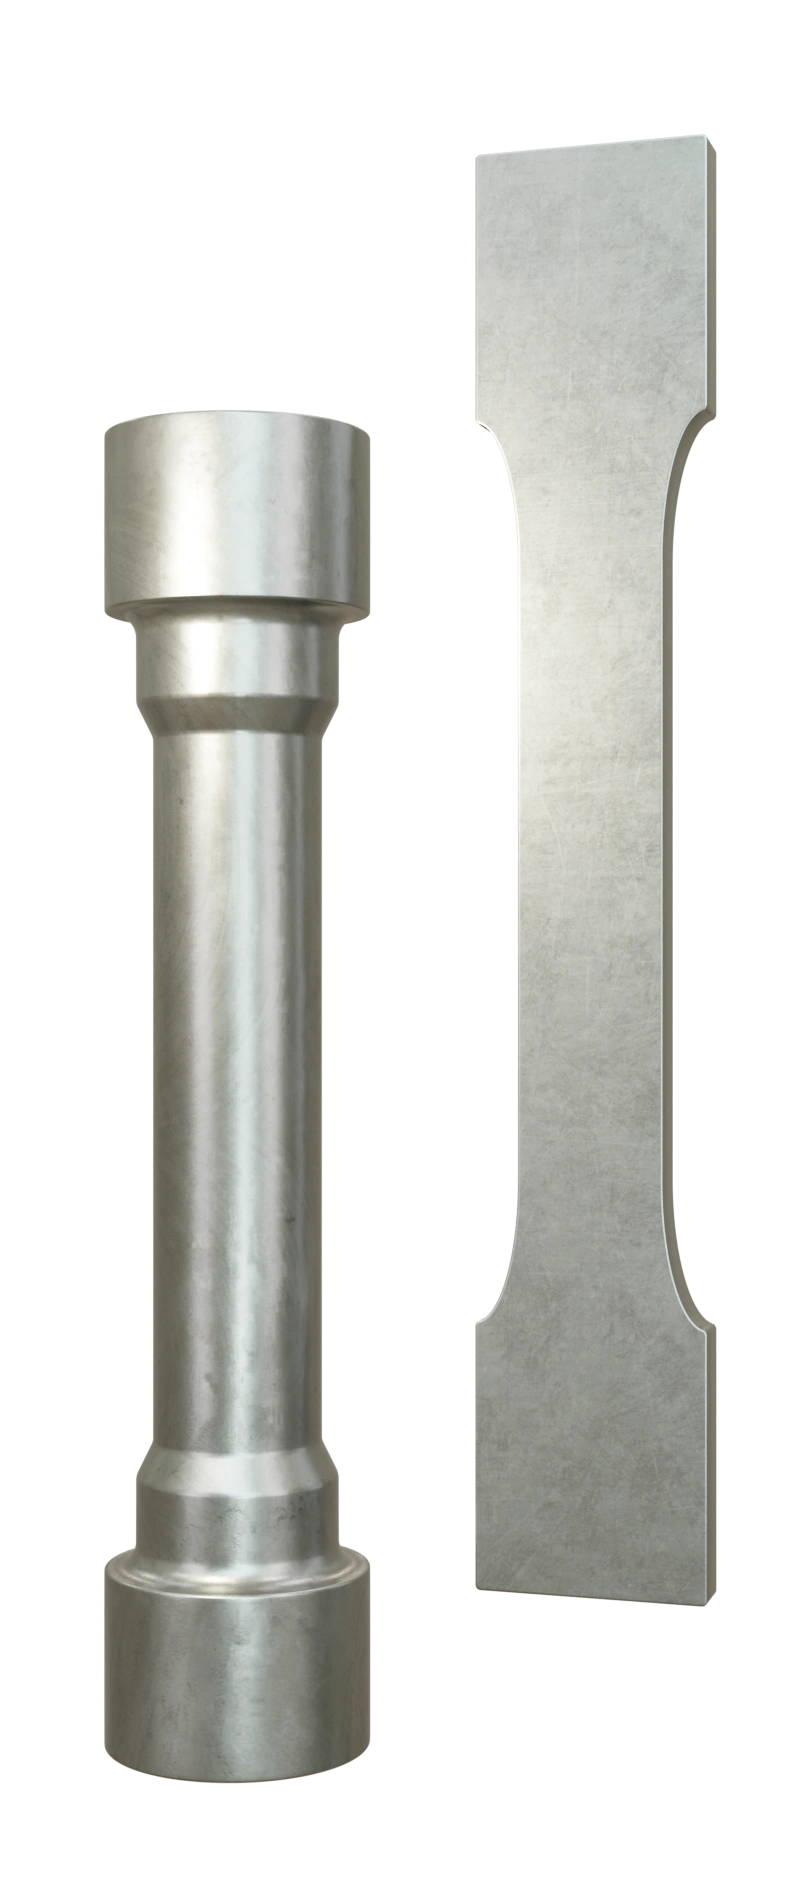
A tensile specimen's geometry and surface finish play an important role in the testing result. Improper machining practices can introduce burrs, scratches, or surface irregularities, all of which can serve as stress concentrators and lead to premature failure during testing. To avoid these defects, precise CNC machining is often used to shape specimens while maintaining tight tolerances and minimizing human error.
3.1. CNC Machining for Precision and Accuracy
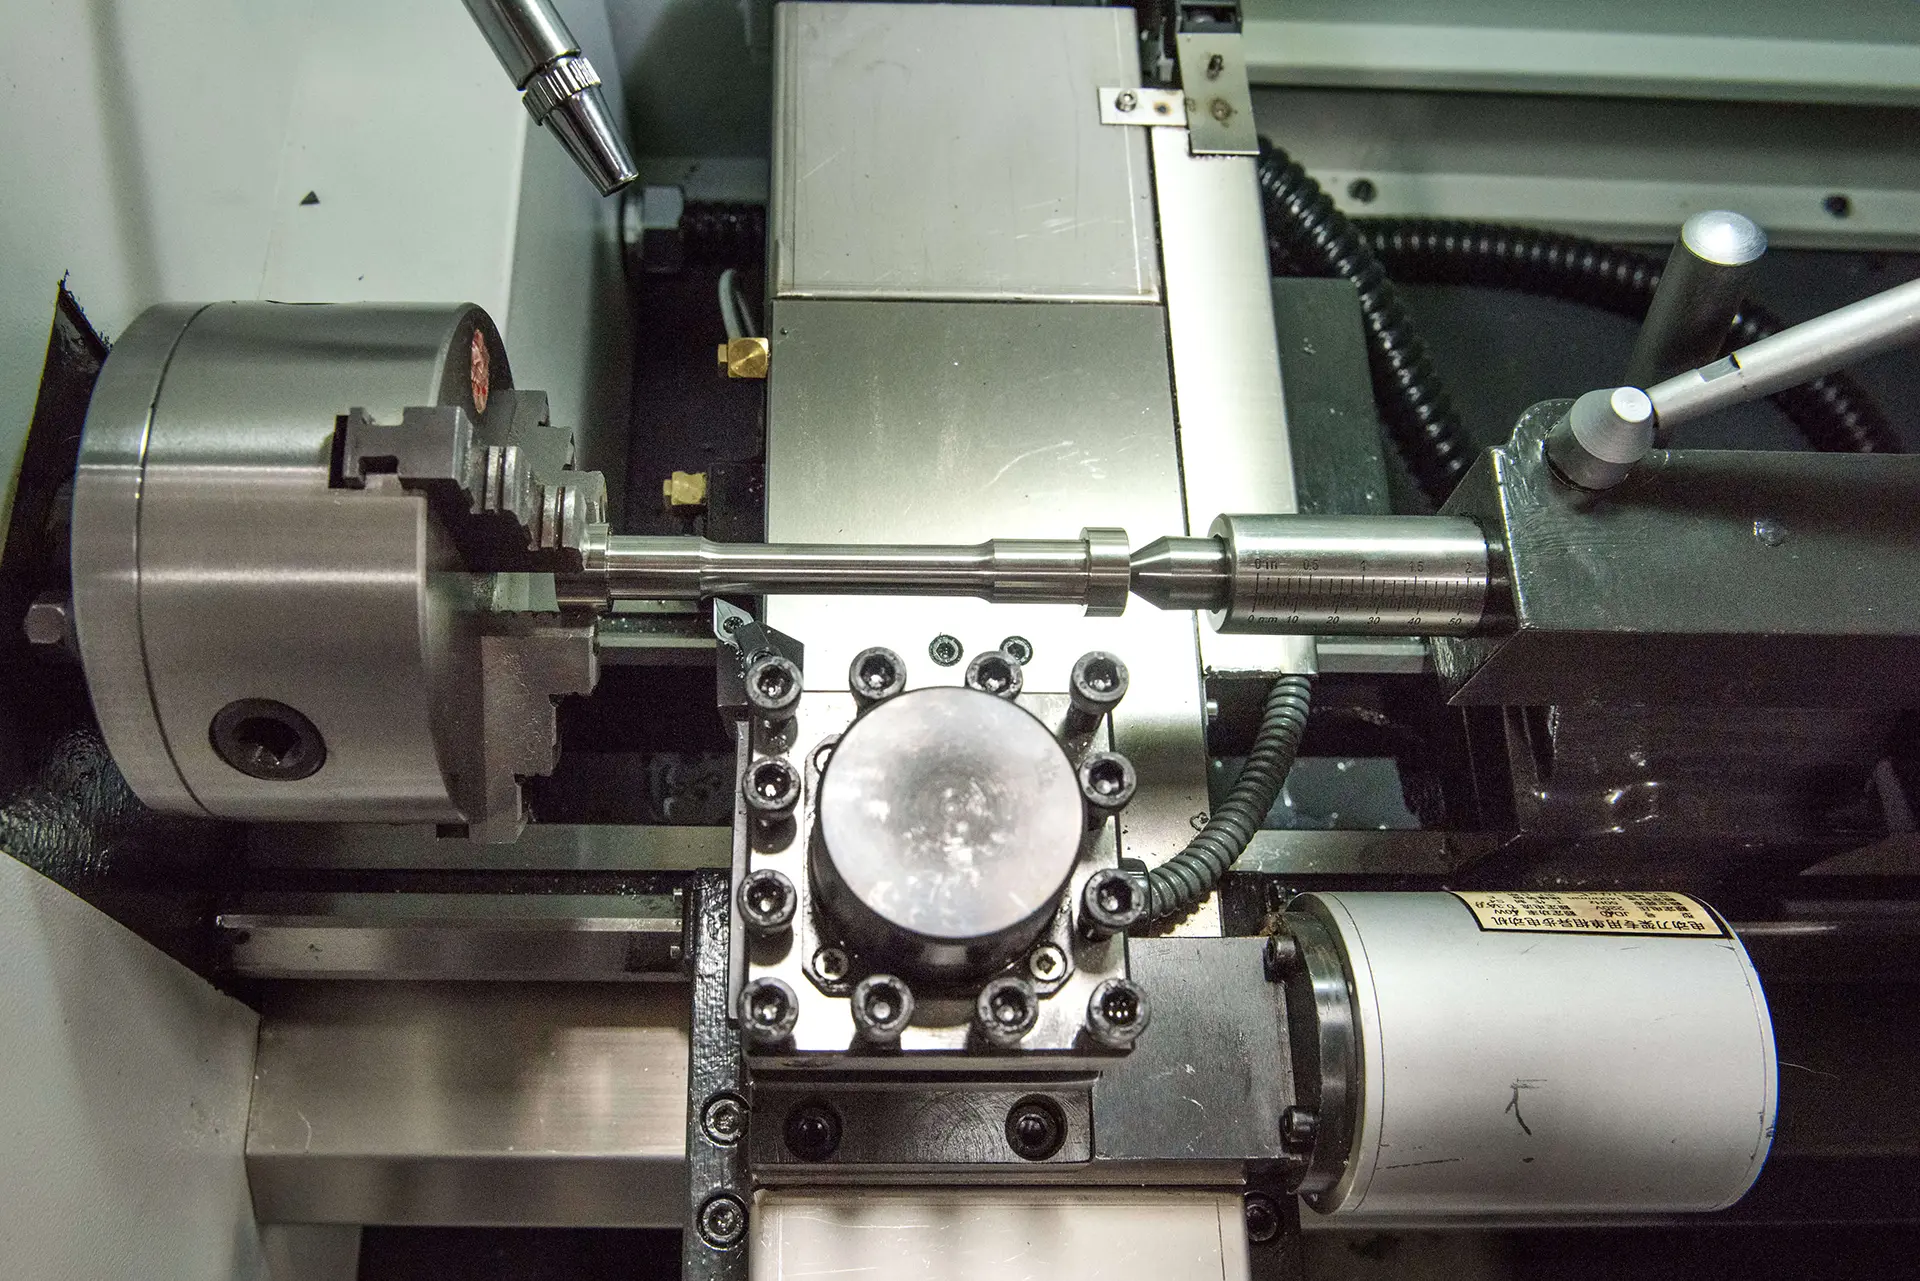
Using CNC machines allows for precise control over the specimen’s dimensions and surface finish, making it possible to maintain the tolerances required by standards like ASTM E8 for metals or ASTM D638 for plastics. These standards demand high precision—for example, the gauge length tolerance for metallic specimens is ±0.05 mm according to ASTM E8.
- Calibration and Tool Maintenance: It is vital to calibrate CNC machines regularly in order to maintain accurate dimensional measurements. Tools must remain sharp to avoid introducing chatter marks, which can increase surface roughness and create potential stress risers.
- Example: For preparing steel tensile specimens, a CNC finishing pass at 500 RPM with a feed rate of 0.1 mm per revolution can significantly improve the surface quality. This reduces the surface roughness to Ra ≤ 0.4 µm, a level that minimizes the likelihood of stress concentration areas forming during tensile testing.
- Versatile Sandpaper Options: The machine supports automatic switching between four different types of sandpaper during polishing. This feature allows smooth transitions between polishing stages, reducing manual intervention and assuring that the optimal surface finish is achieved with minimal effort.
3.2. Tool Selection and Optimization
The choice of cutting tools is also an important factor in reducing machining defects. For metals, high-speed steel (HSS) tools or diamond-coated tools are ideal due to their durability and precision, especially when working with harder materials. These tools reduce wear and prevent burr formation.
- Example: When machining aluminum specimens, using diamond-coated tools with a cutting speed of 1500 mm/min helps produce a smooth, burr-free surface. As diamond tools have a high wear resistance, they minimize tool degradation, resulting in the cutting edge remaining sharp and reducing the risk of introducing surface imperfections.
3.3. Tolerance Control and Dimensional Accuracy
Consistent tensile test results require tight tolerances. Any deviation in the specimen’s geometry, especially in the gauge length or cross-sectional area, can lead to non-uniform stress distribution, skewing the results.
- Tolerance Control: CNC machines have the capability of maintaining extremely tight tolerances, such as ±0.02 mm for metallic tensile specimens. Regular verification of these tolerances using coordinate measuring machines (CMM) guarantees that the dimensions remain within the required range.
- Example: For high-strength steel specimens, maintaining a cross-sectional area within ±0.02 mm ensures that the stress-strain curve is representative of the material’s true behavior, avoiding false readings due to improper geometry.
4. Surface Finishing
Surface finishing is the next step after specimen shaping, which is notably relevant for materials susceptible to oxidation, corrosion, or surface imperfections. Proper surface finishing reduces surface roughness, which helps prevent the initiation of cracks during tensile loading.
4.1. Importance of Surface Roughness Control
Surface roughness directly influences the likelihood of crack formation under stress. Rough surfaces create micro-stress concentrations where cracks can initiate, which affects the material's performance during tensile testing. Achieving the right finish is key to minimizing these risks.
- Roughness Standards: For many metals, achieving a surface roughness of Ra ≤ 0.1 µm is critical to reduce potential stress concentrators. This level of smoothness allows for a uniform stress distribution throughout the gauge section during testing.
- Example: In preparing aluminum alloy tensile specimens, polishing the surface to Ra 0.1 µm prevents micro-cracks from forming. A standard finishing process involves starting with 600-grit sandpaper and then progressing to 1200-grit for a finer finish.
4.2. Polishing Techniques to Minimize Defects
Polishing is a necessary step for achieving a uniform surface finish. For high-precision tensile specimens, a diamond polishing paste is often recommended for achieving a fine, consistent finish without introducing additional surface defects.
- Diamond Polishing: Using diamond paste for the final polishing step can achieve superior smoothness, especially for metals and composites. This method is particularly effective at minimizing roughness and preventing premature crack initiation.
- Best Practice: Follow ASTM E407 guidelines for polishing metals, which detail the recommended grit sizes and techniques for achieving optimal surface finishes. Always follow the use of progressively finer abrasives to eliminate deep scratches from previous steps.
4.3. Minimizing Oxidation and Corrosion on Surfaces
For materials prone to oxidation (like steel or aluminum), surface finishing also serves to remove any oxide layers, improving the material's longevity and assuring that the tensile specimen performs consistently during testing. The process of polishing not only improves roughness but also removes contaminants from the surface that may alter the outcome.
- Example: After CNC shaping, steel specimens are polished with 600-grit abrasives to remove any oxidation, followed by a fine diamond polish to make sure the surface meets the required smoothness without any traces of oxide or corrosion.
5. Visual Inspection
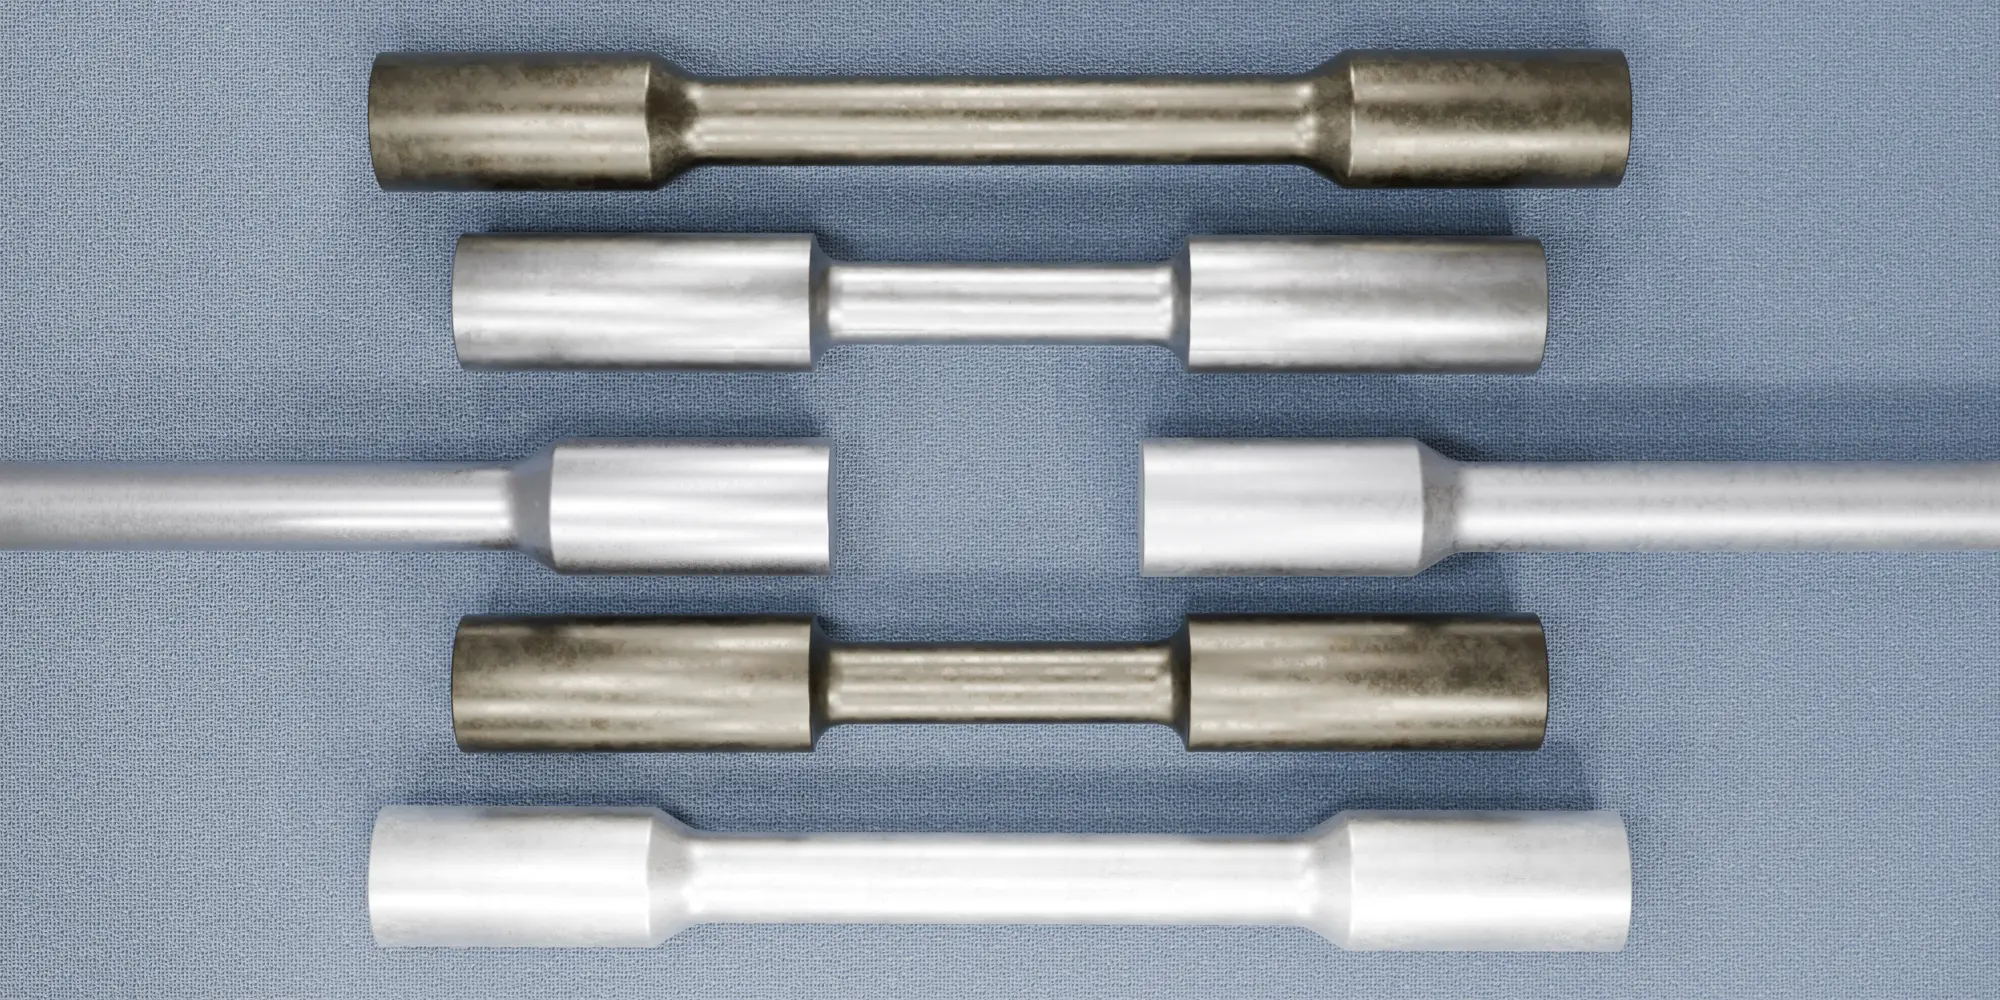
Once the tensile specimen is fully prepared, it undergoes dimensional and visual inspection to confirm that it meets tolerance requirements and is free from surface defects.
5.1. Dimensional Inspection for Precision
Dimensional accuracy is crucial in tensile testing because any deviation from the specimen’s geometry can lead to incorrect stress distribution during testing.
5.2. Visual Inspection for Surface Defects
After all steps, specimens should be carefully examined for any imperfections that could compromise test accuracy.
- Inspection Tools: Magnification (e.g., 10x magnifiers) is often used to inspect the specimen for micro-scratches, delamination, or fiber misalignment in composites. Even small surface defects can lead to crack initiation during testing.
- Example: A composite material specimen is inspected under a 10x magnification to determine whether there is no fiber misalignment or delamination that could impact the tensile properties. Identifying such defects early increases the reliability of the test results and prevents failure during loading.
5.3. Verification of Compliance with Standards
Specimens must meet the dimensional and surface quality standards outlined by relevant testing protocols, including ASTM E8 for metals or ASTM D3039 for composites.
- Example: After machining, a carbon-fiber-reinforced polymer (CFRP) specimen is inspected to ensure it complies with ASTM D3039 guidelines for composite tensile testing. The inspection confirms that the specimen's dimensions and surface finish are within specified limits.
Looking for High-Quality Equipment for Tensile Specimen Preparation?
As part of the tensile sample preparation process, the equipment you use is also a key factor in ensuring the specimens will be prepared accurately and efficiently in the future. If you are looking for high-quality tensile specimen preparation equipment, here are two exceptional options that you should consider.
TensileMill CNC - Classic Upgrade
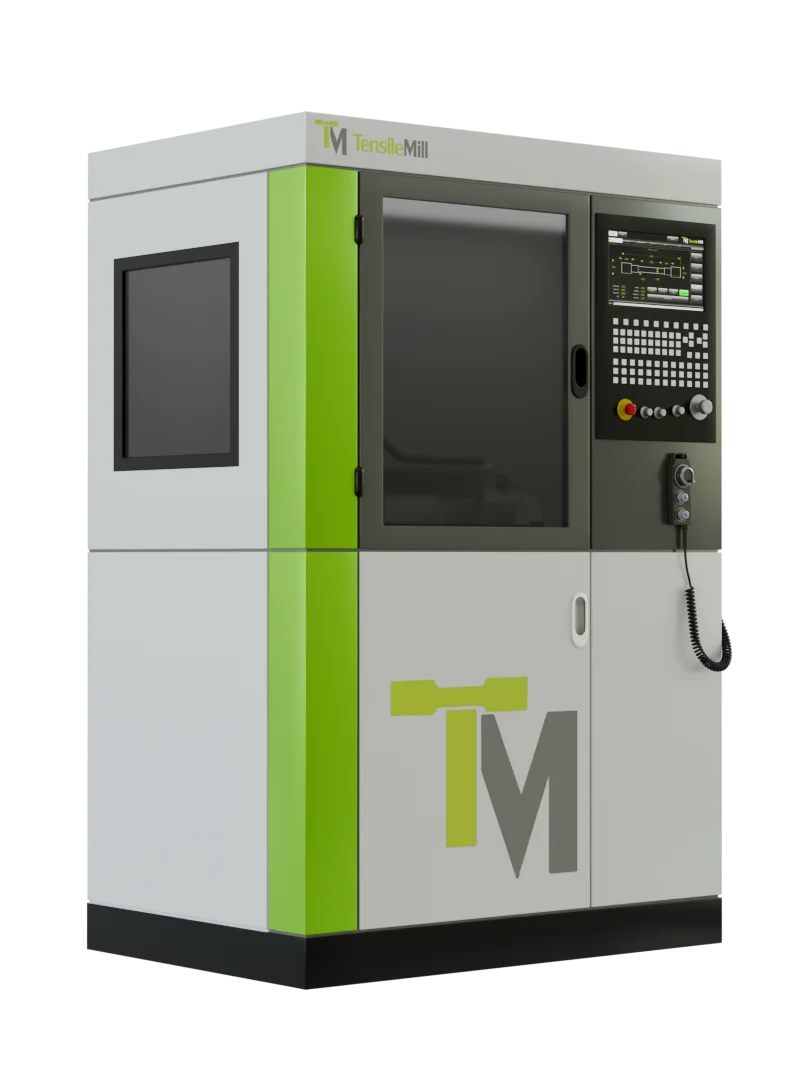
The TensileMill CNC - Classic Upgrade is a cutting-edge solution designed to simplify the preparation of both flat tensile and impact test specimens. Known for its ease of use and versatility, this CNC machine is ideal for both experienced operators and those without specialized training. Its TensileSoft™ design, combined with the powerful Fanuc controller, allows for high precision and repeatability, meeting ASTM, ISO, DIN, and JIS standards.
This machine is built to handle specimens up to 14 inches (350mm) in length, with 0.0003-inch accuracy, making it the perfect choice for industries that demand precision. Capable of preparing specimens with hardness up to 60 HRC, the TensileMill CNC - Classic Upgrade also excels in reducing vibration, eliminating the need for surface grinders, and offering superior finishes without chatter.
With a triple clamping fixture, this CNC system can prepare up to 8 specimens simultaneously, saving up to 90% of preparation time. This robust and highly adaptable machine also supports custom programming, allowing operators to prepare both flat and impact specimens with ease, offering a fully integrated solution for tensile and impact testing preparation. If you need efficiency and precision in your workflow, the TensileMill CNC - Classic Upgrade is a game-changer.
Automatic Longitudinal Polisher System - TensilePolish GR04
The TensilePolish GR04 is an advanced polishing system designed specifically to lower surface stress and achieve flawless finishes on both cylindrical and flat specimens. This Automatic Longitudinal Polisher guarantees accurate and repeatable results, ensuring your specimens meet the highest quality standards, including compliance with ASTM E466, ASTM E606, EN 6072, and NADCAP.
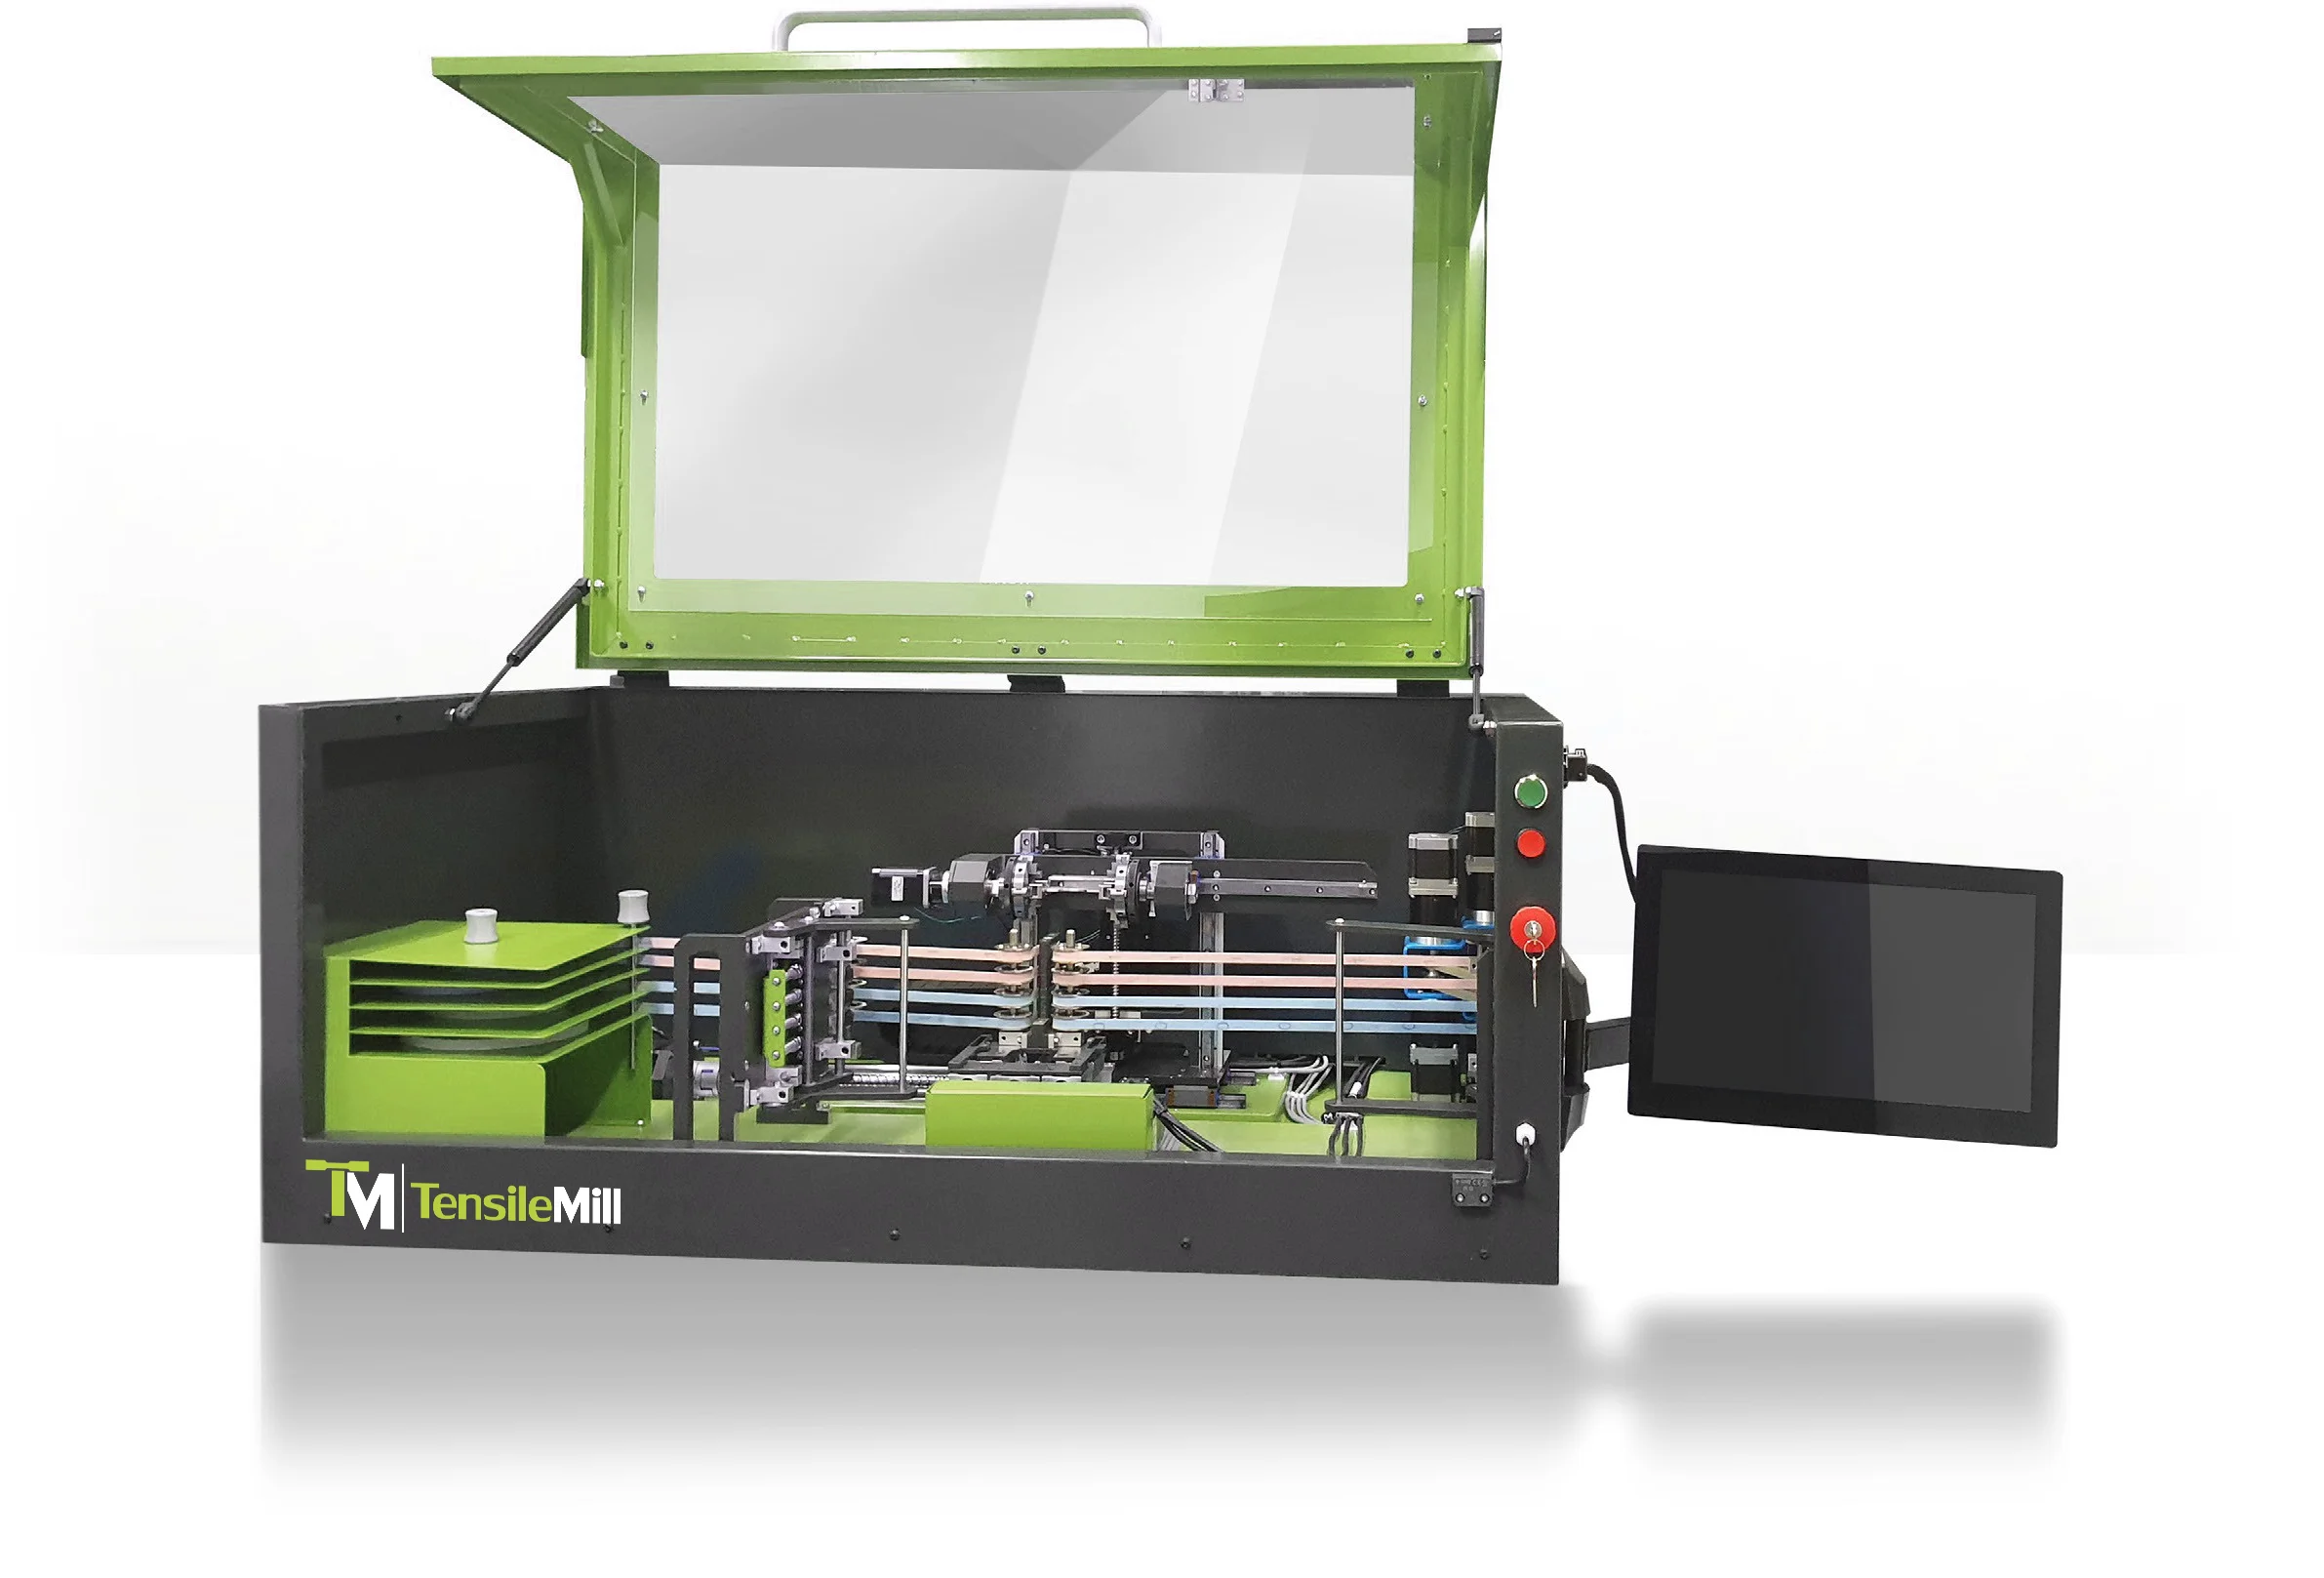
This polisher offers full automation with customizable parameters, such as adjustable rotation, force, speed, and active polishing length, allowing it to be flexible enough to handle numerous specimen sizes and geometries. It can automatically switch between four grades of sandpaper, allowing for consistent polishing with minimal operator intervention. The TensilePolish GR04 not only polishes specimens to perfection but also maintains low-stress grinding, preserving the integrity of the material throughout the process.
With its small footprint and user-friendly touchscreen interface, the TensilePolish GR04 is ideal for both small and large-scale operations. Whether you're polishing extremely small, large, or custom specimens, this system guarantees the highest standard of surface finish, reducing residual stress and preparing your specimens for accurate tensile testing.
Achieving Defect-Free Tensile Specimen Preparation: Final Thoughts
Minimizing defects in tensile specimen preparation contributes to accurate and reliable testing results. From selecting the appropriate raw materials free from internal and surface defects to precise cutting, machining, and surface finishing techniques, each stage plays an integral role in maintaining the integrity of the specimens. Non-destructive evaluation techniques like ultrasonic and eddy current testing are key tools in making sure materials are defect-free from the start. Additionally, using proper cutting methods like water jet or laser cutting minimizes thermal and mechanical stress, preserving the material's properties.
Machining and shaping the specimen with CNC precision equipment guarantees that the final product meets stringent standards like ASTM and ISO, with tight tolerances and accurate surface finishes. Polishing techniques that reduce surface roughness are critical for preventing premature failures during tensile loading. Finally, thorough visual and dimensional inspections ensure that every specimen adheres to the required specifications, guaranteeing reliable and consistent test results.
At TensileMill CNC, we are renowned for our high-quality tensile specimen preparation and testing equipment. If you are looking to upgrade your lab with modern, state-of-the-art machinery for tensile testing, flat or round sample preparation, polishing systems, and more, visit our website to explore our product offerings. For any further questions, please do not hesitate to contact us directly or to request a quote online. We are here to help you make the right choice for your testing needs.